Interested in visiting Iceland? Check out my five-day itinerary for your first visit here!
I’ve been to Iceland five times now and I’ve seen quite a bit of the southern coast. There was one spot that eluded me, though. It’s one of the most incredible canyons I’ve ever seen, but none of the pictures I saw online mentioned the location. Before my last trip an Icelandic buddy finally clued me in: the name of the canyon is Mulagljufur.
After quite the adventure getting to Iceland and seeing some adorable puffins, it was time to finally make my way to Mulagljufur. If you want to catch up on everything that led up to my hike, see the following posts:
Delta paid me $4500 to take a later flight!
Delta Choice Voucher Redemptions – as good as cash?
Best Day Ever: Photographing Puffins in Iceland’s Westfjords
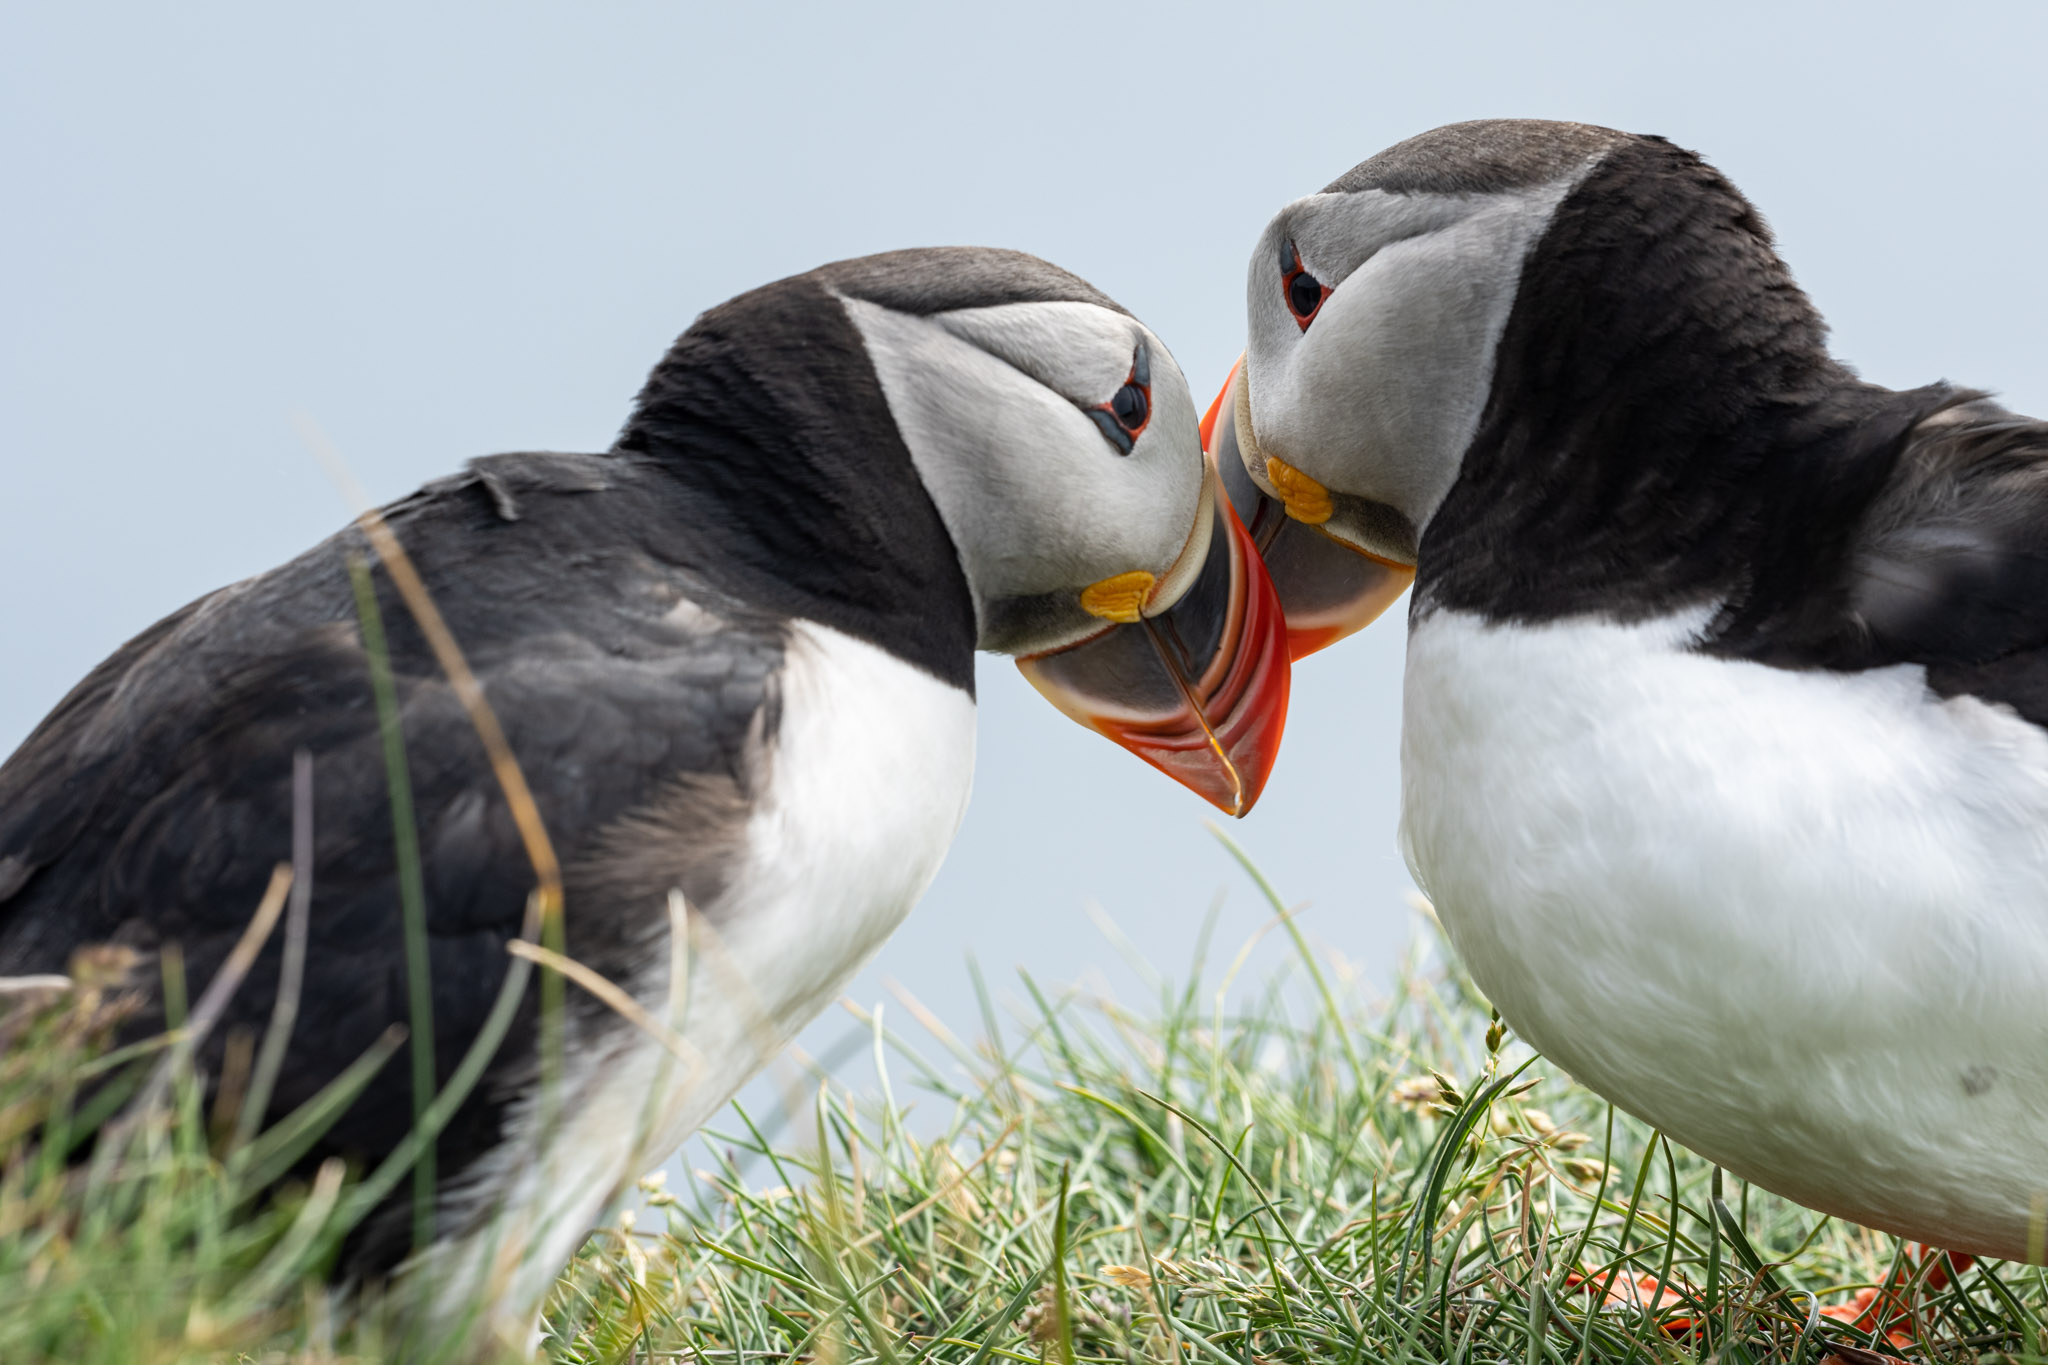
If you didn’t actually click those links, here’s a picture of a puffin to let you know what you missed.
How to get to the Mulagljufur trailhead
Unlike more popular hikes like Svartifoss in Skaftafell National Park, Mulagljufur is relatively unmarked. You will not see any of the familiar signs pointing it out from the Ring Road like you saw for Seljalandsfoss or Skogafoss. If you’ve driven out to Jokulsarlon, though, you’ve driven right past it!
From the Ring Road, you’ll turn north onto an unmarked rocky road.
(The map above doesn’t have a pin for the road but it will load centered on the road you need to take)
A four-wheel drive vehicle is recommended but I was able to navigate the road carefully with my two-wheel drive rental. You will cross a stream on the way to the trail head. If you have a two-wheel drive vehicle and see rushing water, turn around. The water level was extremely low so it wasn’t an issue for me.
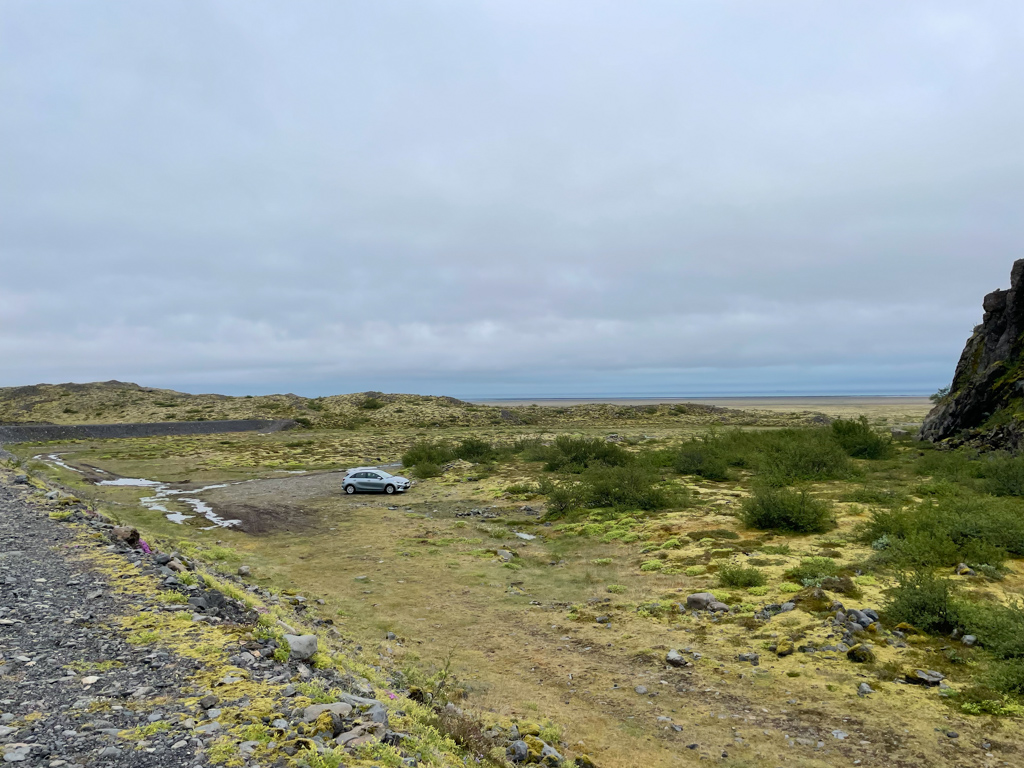
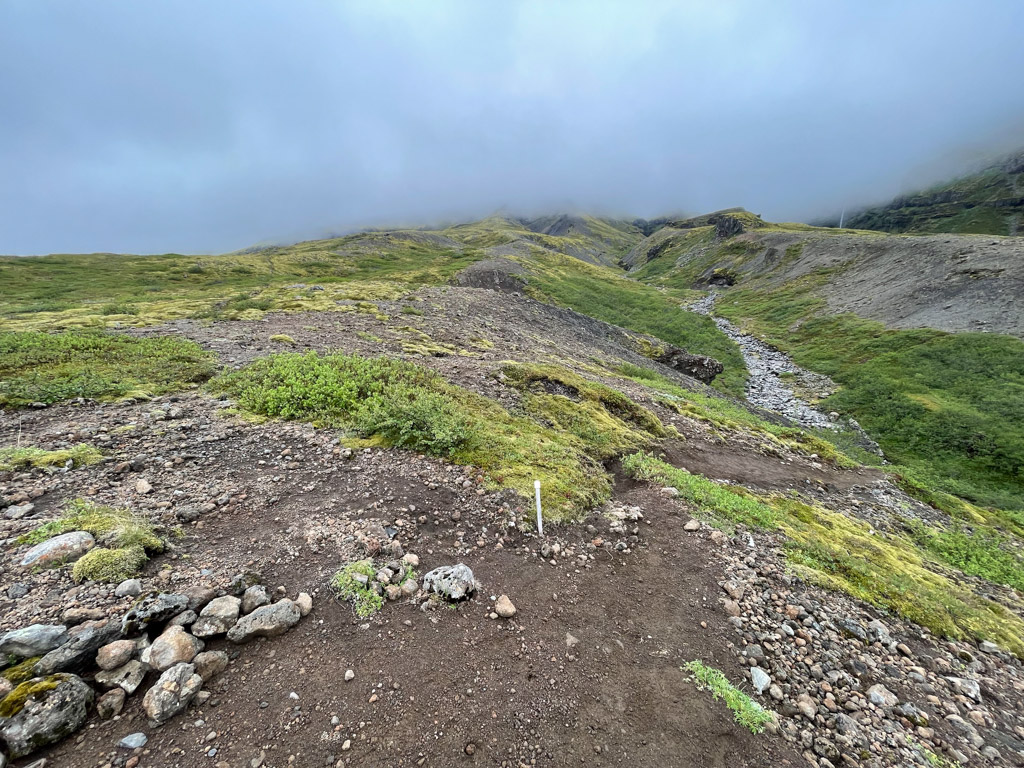
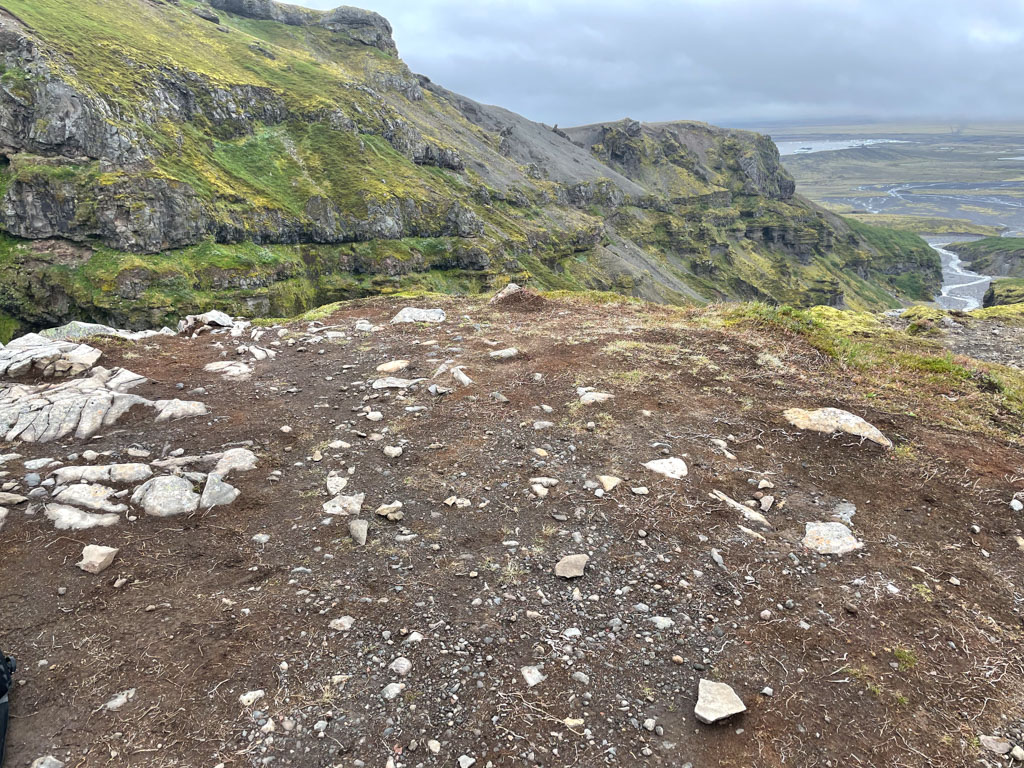
I drove until I reached a parking lot of sorts next to a levee. There are no signs here but when you can’t go any further, you’re there. Grab some water, some snacks, and get ready for a great hike!
The hike to Mulagljufur
I grabbed my camera gear and made my way onto what I thought was the trail, turning back to get a picture of the parking lot.
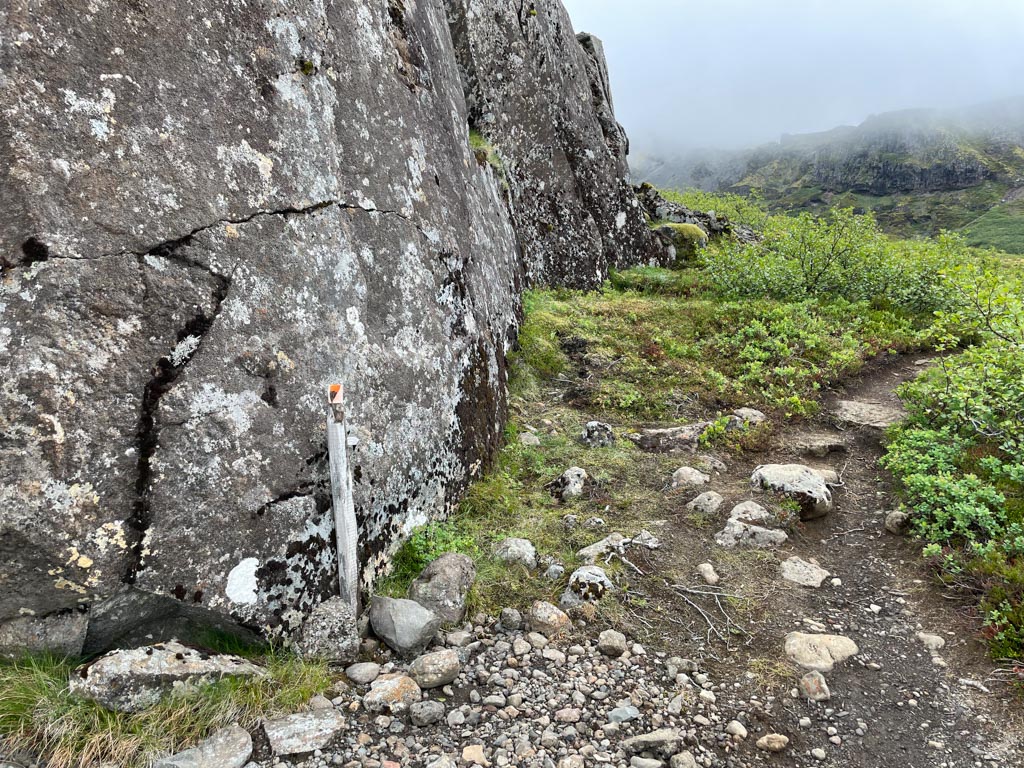
Climb onto the levee and make your way past the parking lot, turning left at the first fork in the trail. The only markings you’ll have for the trail are stakes with PVC pipes stuck onto the top. Sometimes they’re hidden really well. Generally, though, when in doubt, head up!
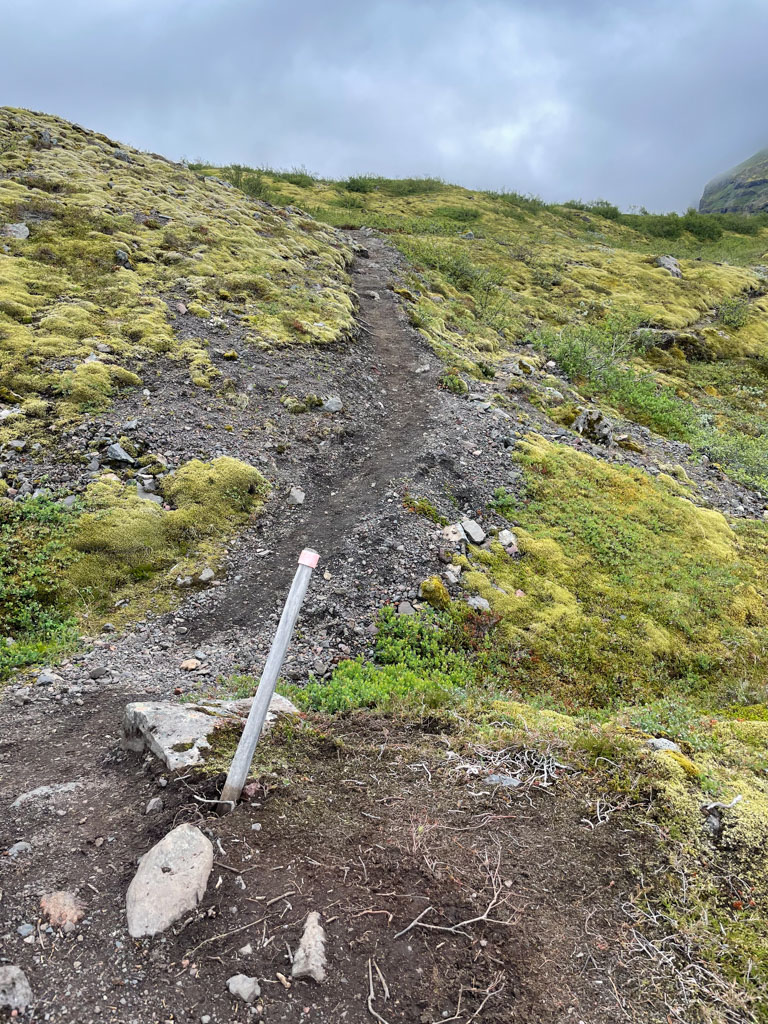
Early on in the hike the stakes are pretty prominent, as is the trail that others have hewn into the landscape. There are a few times where you’ll be at an intersection and there’s not an obvious stake. Look further up the trail and there will be one, you’ll just have to look a little harder for it.
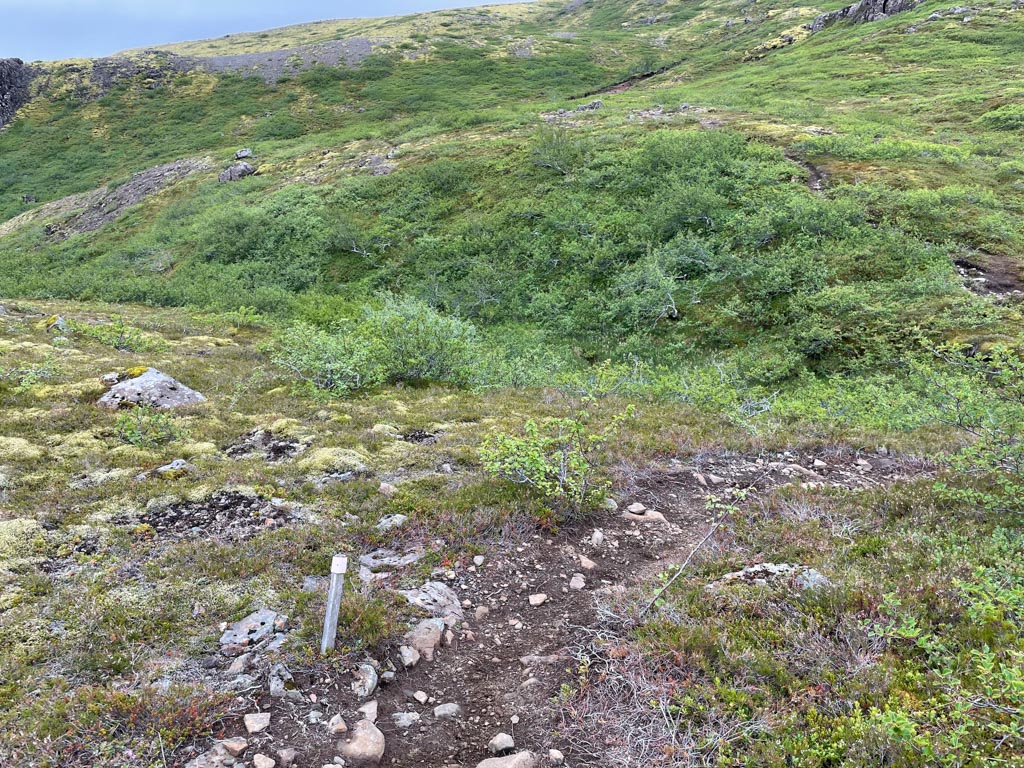
Sometimes the stakes blend into the landscape REALLY well. Stick to the paths and you’ll be ok.
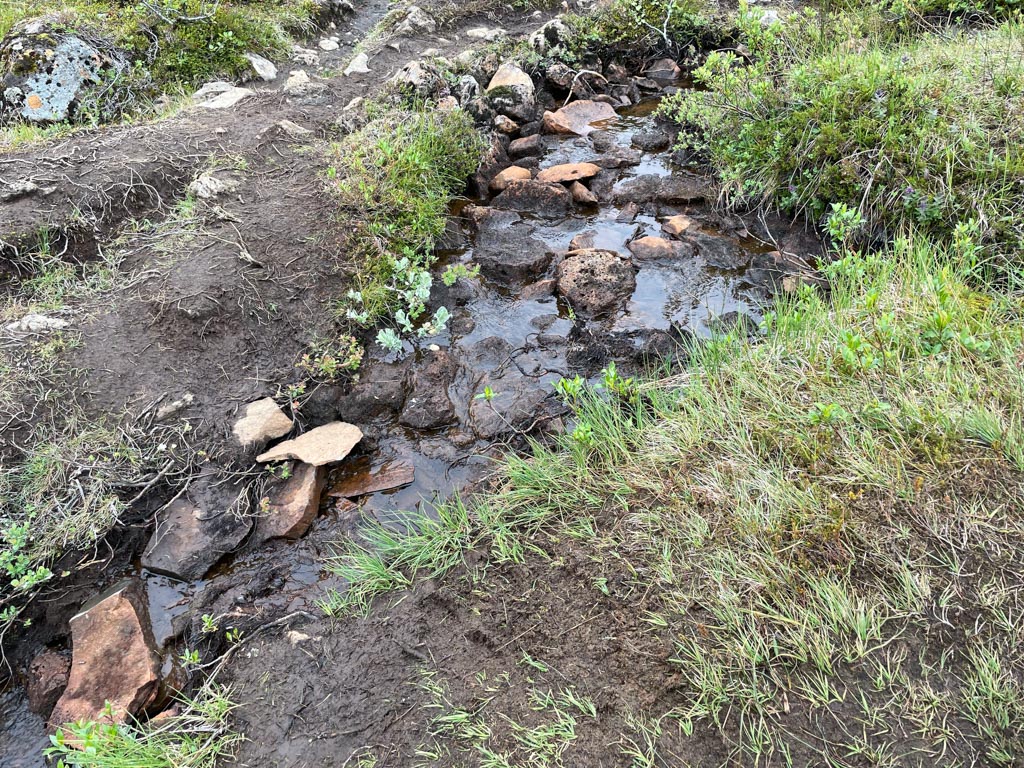
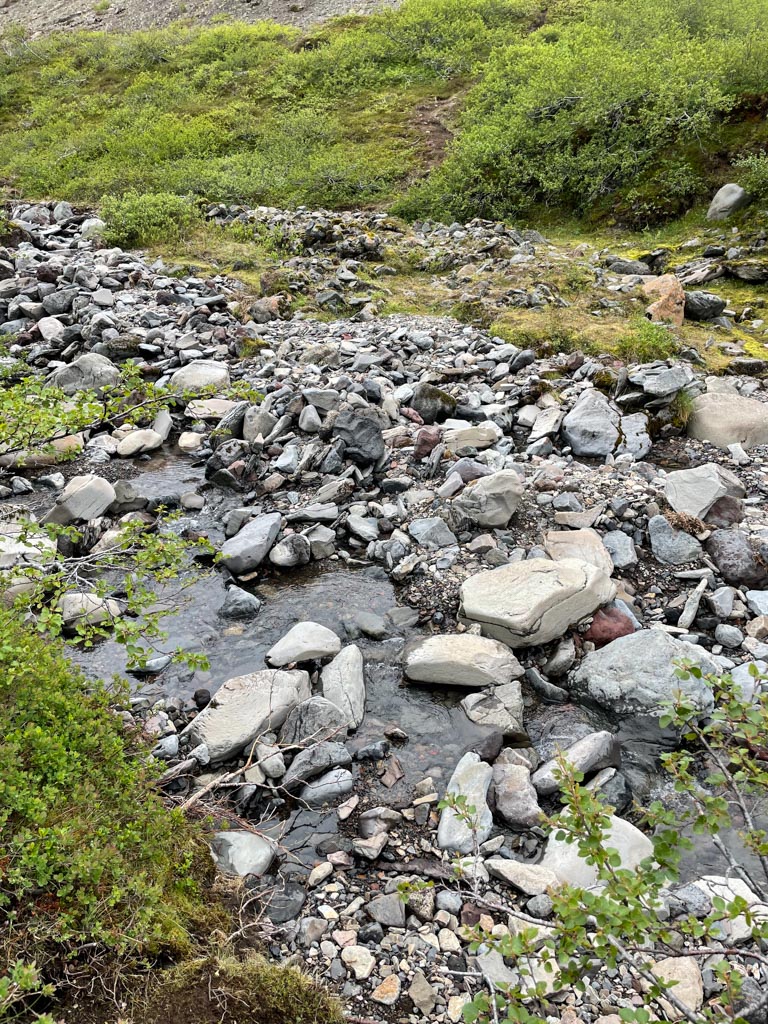
I came to the first of two river crossings. I had waterproof shoes on but didn’t really need them since the water level was low. I would prepare as if the water levels are higher than this.
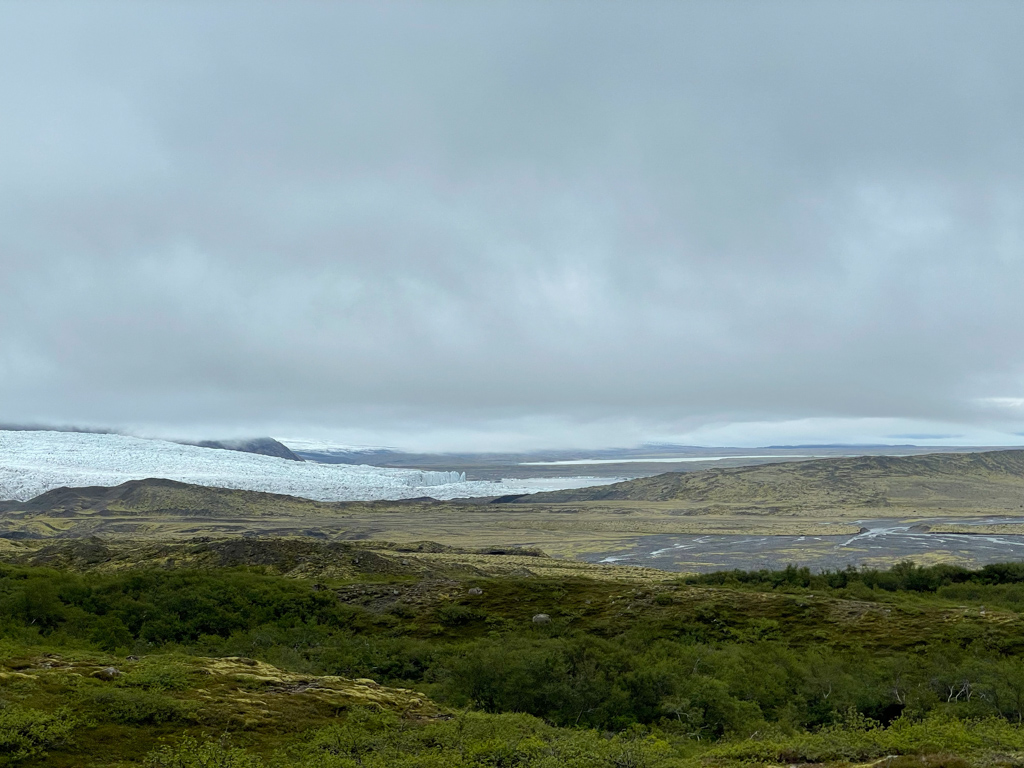
During one of my many breaks to rest because I’ve lost a bit of my fitness to take a picture, I looked east and saw a glacier lagoon. It wasn’t Jokulsarlon, rather its less-famous sibling Fjallsarlon.
I kept climbing and finding more stakes, it was the most random game of hide-and-seek I’ve ever played, but it made me love this hike even more, since it felt more remote.
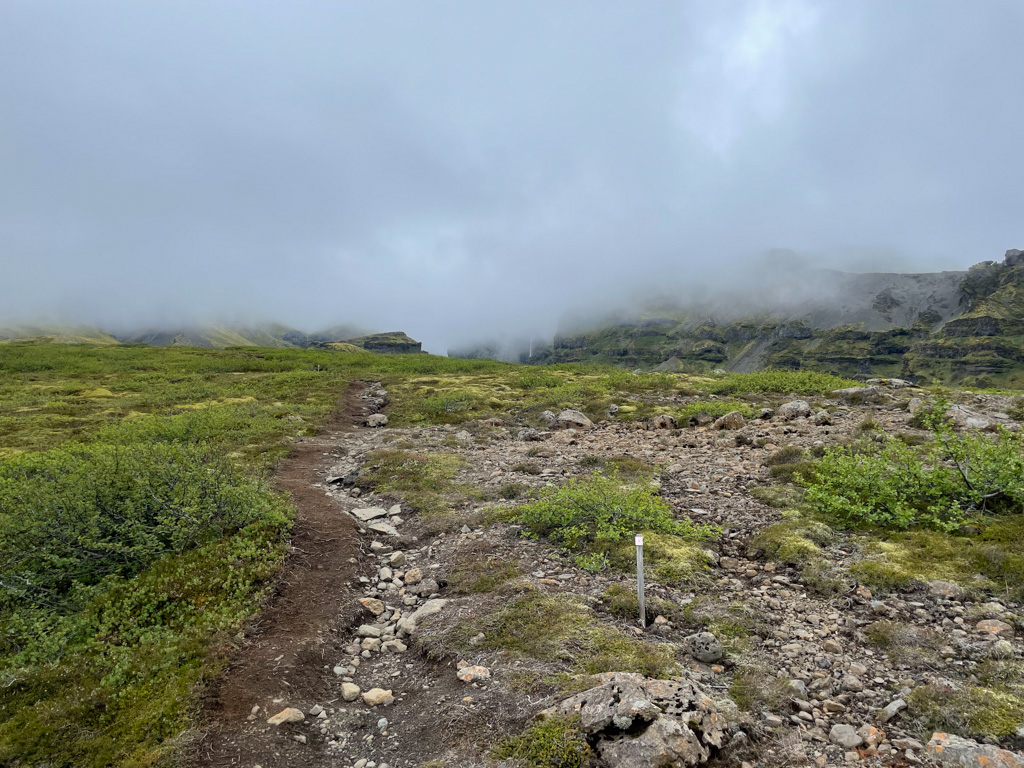
Eventually the landscape started to look more canyon-ey. There was one downhill part leading to another river crossing.
This was the only place where I saw two stakes on different paths but both paths converged into the main path later.
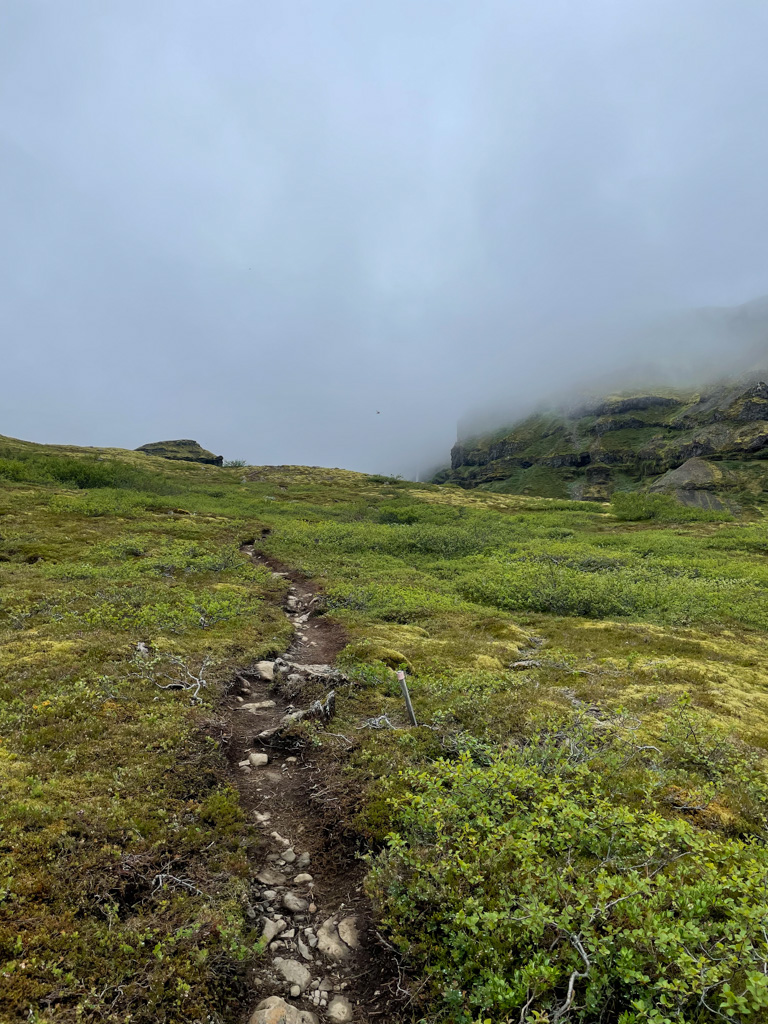
It was at this point where I realized that I was walking into a cloud. Weather like this is common in Iceland, so you need to understand going in that you might need to wait for the epic classic view of Mulagljufur.
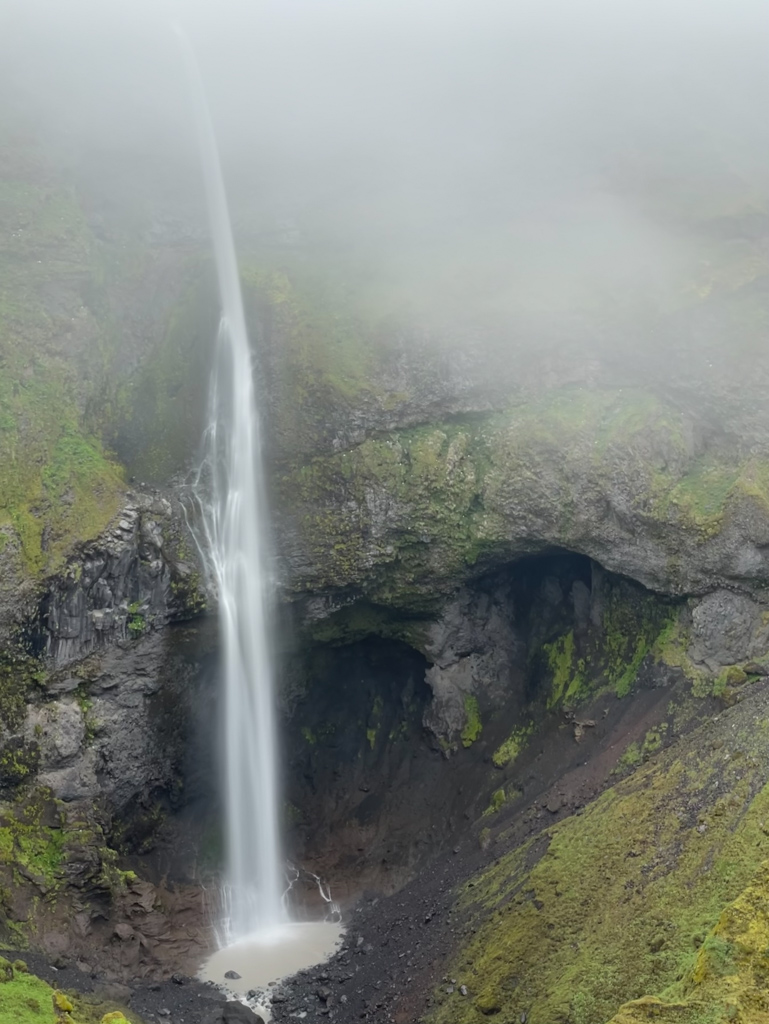
I reached a clearing and saw a beautiful waterfall across the canyon. Well, part of it.
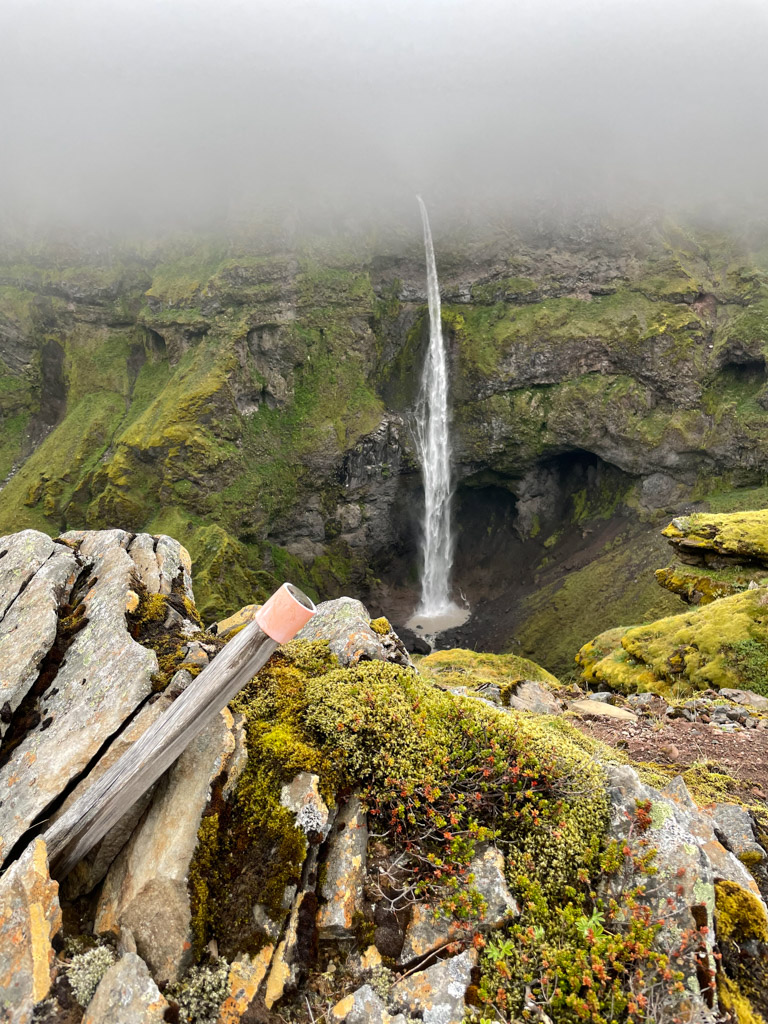
I didn’t realize I was actually at the ideal spot for the picture I wanted, since I couldn’t see all the way up the canyon. If you want the classic shot of the canyon, when you see the first waterfall in front of you you’re basically there. There’s a little clearing where the grass has been worn down.
I actually walked right past this clearing and went further up the trail, which was extremely fun. I had decent cell reception on the entire trail, so I eventually found some reference pictures of the hike, got my bearings, turned around, and went back to the clearing.
Confident that I was in the right spot, I set my camera up, pointed directly at: a cloud.
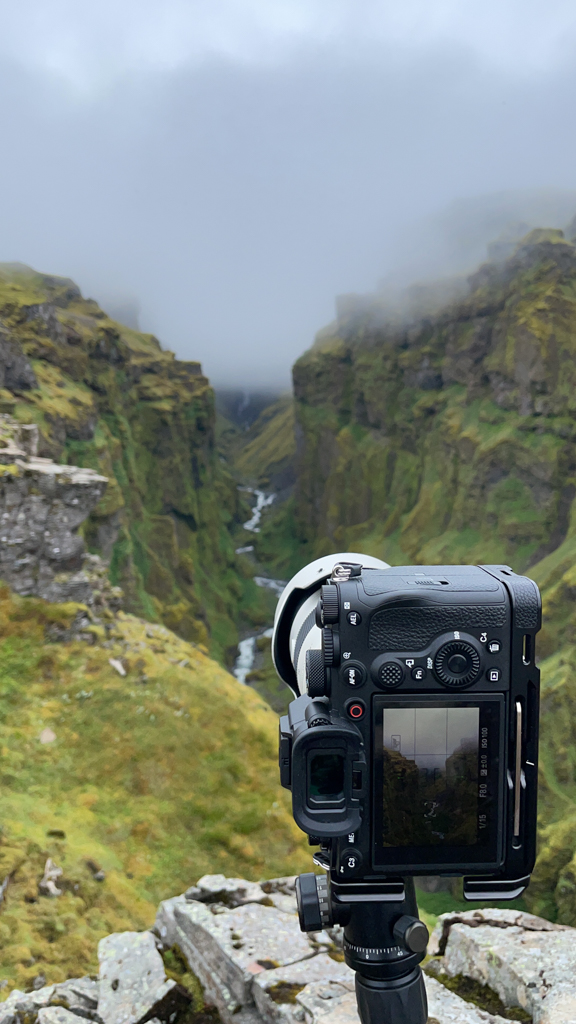
At that point, I just had to sit there and wait. For a few hours. The weather wasn’t too cold and the wind was pretty consistent, so I just needed a small break in the clouds. Other hikers came and went, some from Israel, others from Germany. It’s always fun getting to know people on trails like this.
Mercifully, I started to see more of the waterfall across the canyon from me, the first sign that the clouds were lifting.
The canyon was looking amazing, I just needed the last layers of clouds to break.
Finally, they did. My patience paid off. I saw Mulagljufur in its full glory.
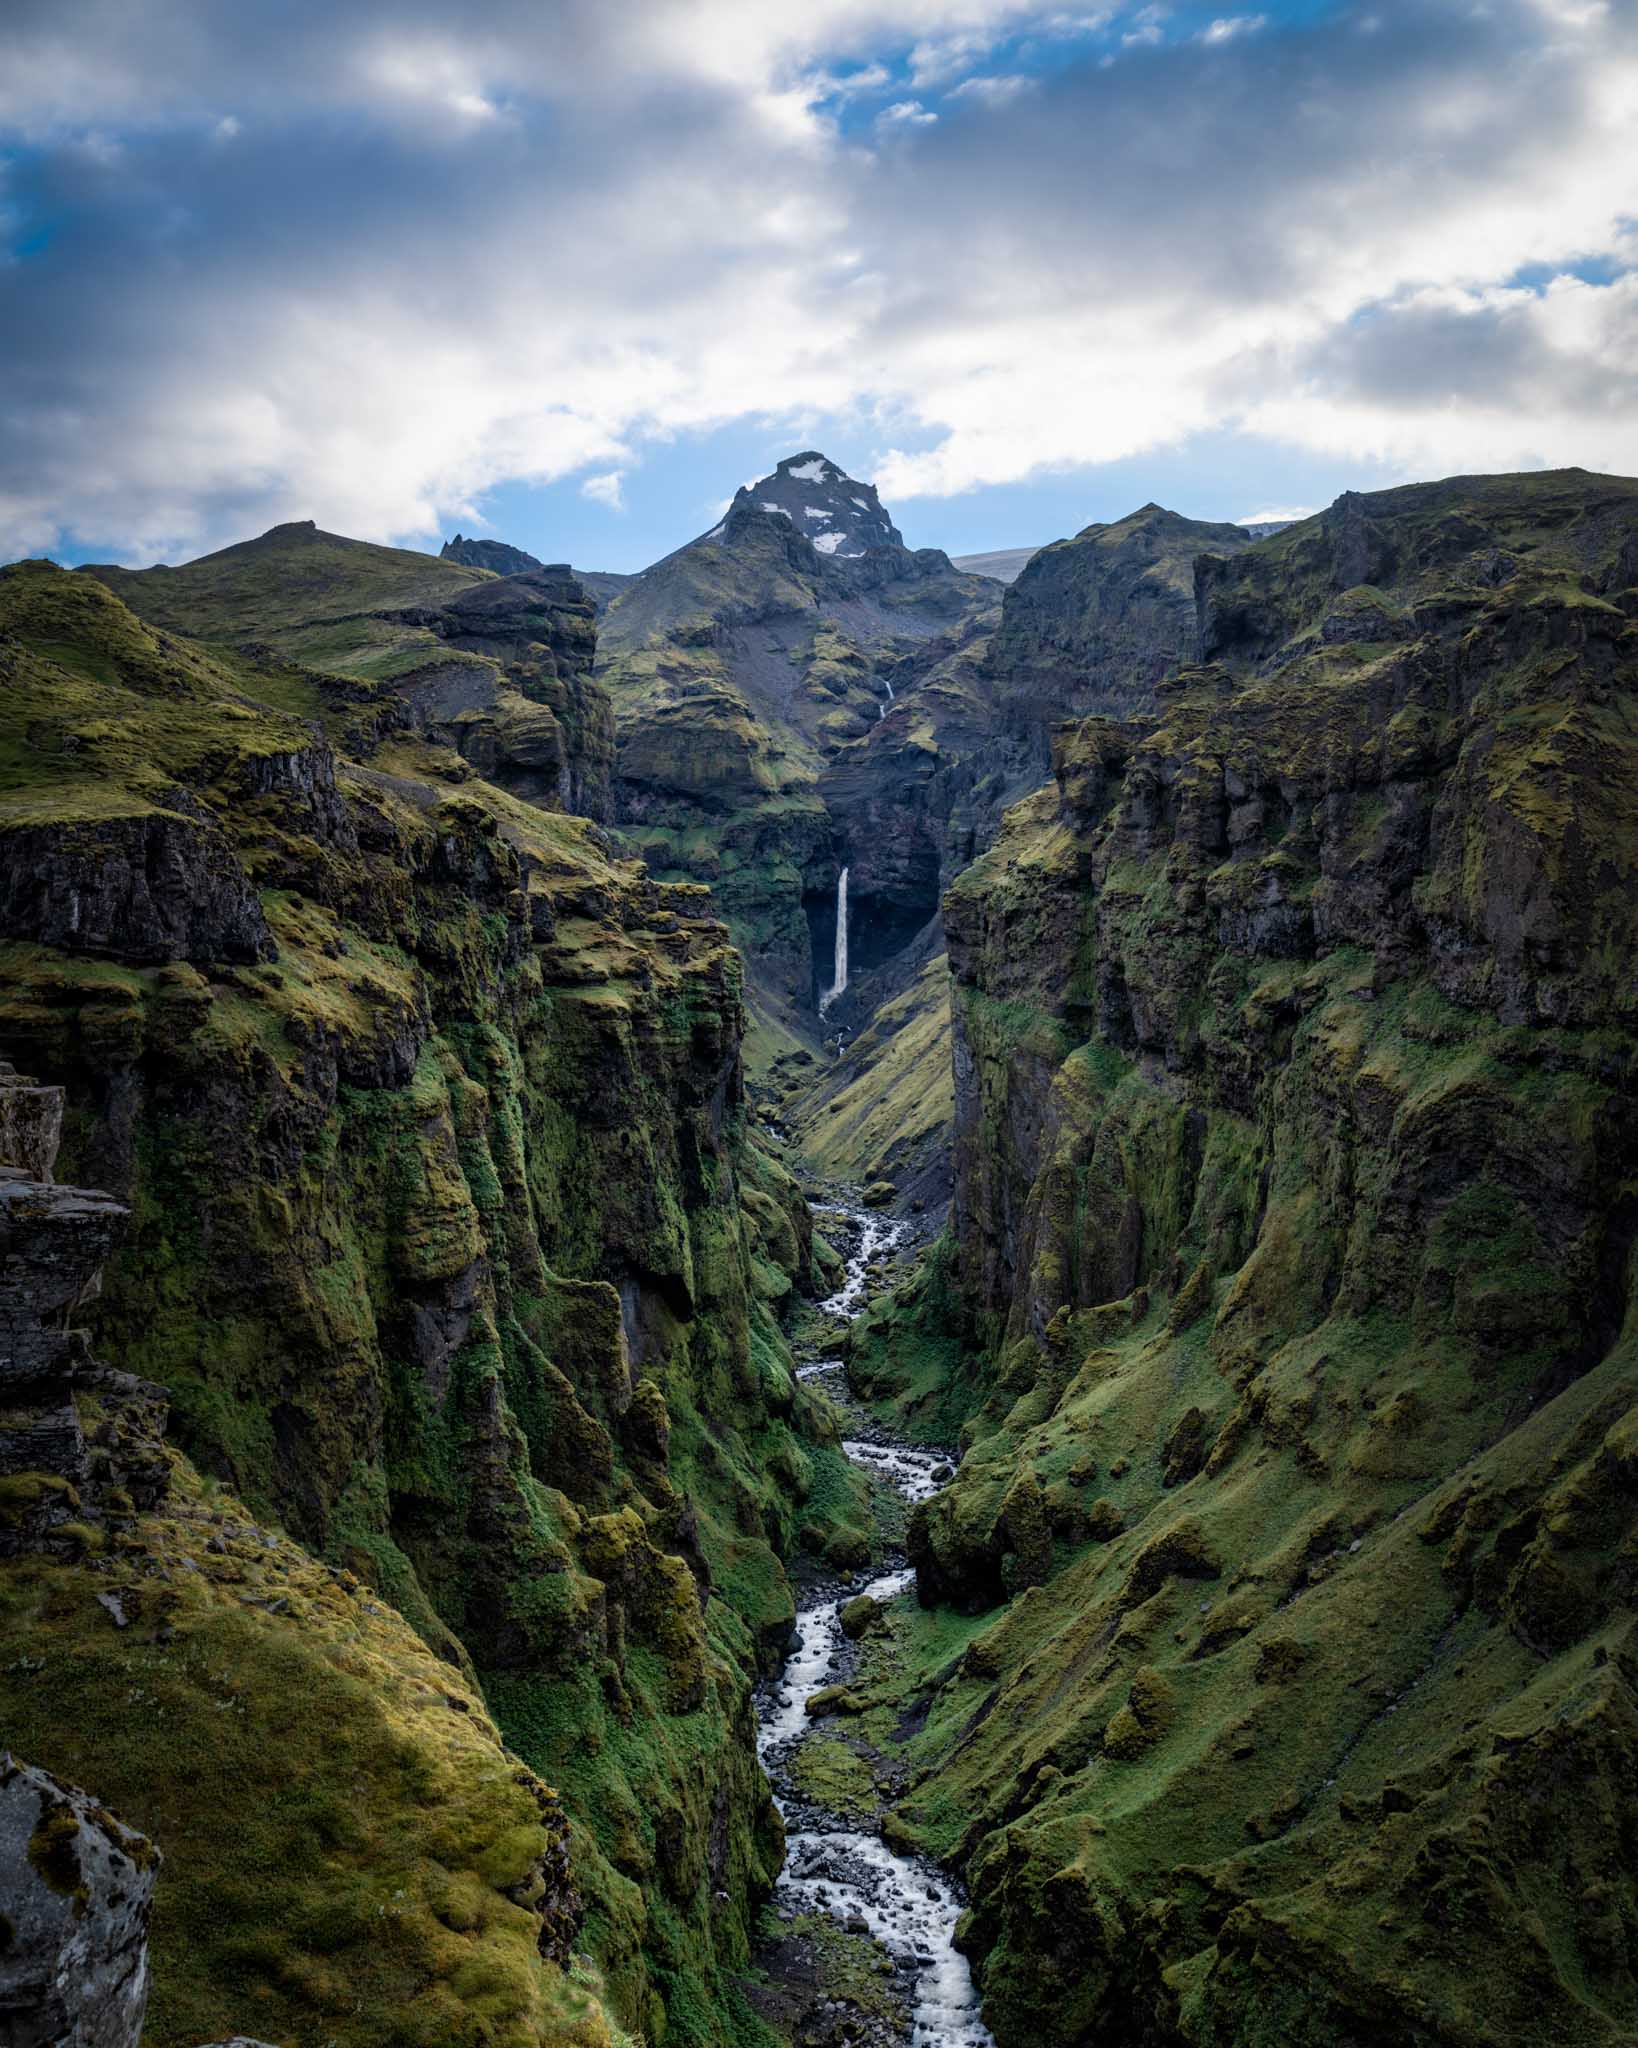
For photographers: 50mm will get you a great wide-angle view of the canyon, 70mm will be a nice centre-weighted composition. A 24-70mm should be fine for Mulagljufur but a 24-105 might be better, or you can be like me and have a camera with a 50mm focal length lens on it and another camera with a 70-200 on it.
Satisfied with my efforts, I packed my camera gear up and made my way back down to my waiting car, satisfied with a wonderful hike. It’s roughly a 4-mile (6.5km) hike that has a good bit of escalation on the way but it’s fairly gradual (you won’t be scrambling up cliff faces or anything like that).
If you’re in the area, I can’t recommend this hike enough! Mulagljufur has bits and pieces of every other great hike I’ve done in Iceland and it’s surprisingly accessible just off the Ring Road.
I hope this guide was helpful! Are you planning to visit Mulagljufur and play Spot the Stake? Tell me in the comments below!
This is completely awesome, one more reason I need to go to there!
How is the water, usually?
I’m 100% saving this guide for my next trip to Iceland! I can’t believe I drove right past this beauty without even noticing. It’s truly a hidden gem.
Thanks for sharing!
Yes! Love this description and the photos and the patience. I can’t wait for October! Phenomenal photo, Andy.
Thank you so much, this is very helpful. I’m going in June and can’t wait! Is it 4 miles round trip or one way? Do you think a chubby 38 year old can do it?
It’s a pretty easy hike, you should be fine! It’s 4 miles round trip.
I did the hike last month and I was pleasantly surprised how quick I got to the top even with stopping quite a bit. It was incredible! Thank you so much for this post. I wouldn’t have done it without the info you provided.
Hii!!
My name is María del Mar and I’m going with my husband and 7-year-old daughter to Iceland next July.
We did not know about Múlagljúfur Canyon and its looks really amazing.
However, we have a doubt about the trail. Our daughter is used to hiking but we wanted to ask you if the trail might be dangerous in any point. I mean, if it is narrow and you are obliged to walk close to the edge of the canyon. Obviously, we are sure that the trail may pass close to edge but if you have enough space to walk until you get to the first waterfall it would be less overwhelming.
If the last part of the trail is more difficult, we won’t go further…
Many thanks for making the effort to write your blog. It is enjoyable and helpful!
Looks like a fantastic hike. I am currently in Iceland and am difficulty finding the track off route 1. Could you share the gps coordinates for both the turnoff and the parking area? Many thanks!
David, I replied directly to your email, I hope it went through ok!
Other reviews made it sound more challenging. We are going to be in Iceland next week and your blog post was super helpful and encourages me to just go for it. Thanks!
I think it’s approachable! Having just done it again a few weeks ago, the trail is worn in and it’s pretty obvious where to go. Just take your time and you’ll be up in no time!
Thanks so much, this looks so beautiful.
We are going to Iceland this September and I would love to visit this but my condition is not that good and I am afraid of (steep) heights. Do we walk beside steep slopes? How long is it to the first/main viewpoint? Thank you for your reply
Hi Annette, I would call the hike a bit challenging but manageable if that makes sense. The large majority of the hike is not along a canyon face with only one steep decline down to one of the creek crossings. The last bit up to the canyon is steep but there is plenty of room to rest. The only time you’ll be near a cliff is when you’re at the canyon viewpoint but there are plenty of great views without getting close to the edge. I hope this helps!
We were there Aug 20 but took a very different route. We parked at a small lot near the levee, climbed up, wound left, ended up on promontory facing the top waterfall. No river/stream crossings. We saw the canyon from above on left side of your photos. Wish I could add a photo. It was great! This hike was after visits to both glacier lagoons, a zodiac trip, and time on Diamond Beach. After the hike we had to drive on to Hofn! Long day!