[disclaimer: this post is not sponsored, nor has it been reviewed by Radiant Photo. All opinions are my own.]
I’m getting really close to celebrating 10 years of taking photography “seriously”, and by seriously I mean I started purchasing crazy amounts of camera equipment and starting spending hundreds or even thousands of hours learning, editing, and, well, spending a crazy amount of money on camera stuff.
I’ve been in the same habit for years and years when it comes to photo editing: import into Lightroom, do some edits, use some presets, and see what I can make of things. I’m used to it, not a big deal. Yeah there were some auto processors, or I could just shoot in JPG or on auto mode, but I never really liked the results, they were never really how I would’ve edited my photos.
And then there was Radiant.
Radiant Photo
Radiant Photo, headed by my good friend Elia Locardi, is an image processor which, without even as much as clicking a button, makes images print ready. It uses AI-trained scene detection to analyze an image, determine what “kind” of image it is (landscape, portrait, day/night, etc.) and optimize the image pixel-by-pixel. You can then go in and further edit/refine the image to whatever spec you like, but honestly I haven’t needed to very often.
Here’s one of Elia’s images from Japan, straight from the raw image.

And here is that image just a short time later after using Radiant.

I had to try it for myself, but needed a cute animal to be the subject of my attempts WAIT A MINUTE WHAT ABOUT THE WOMBATS?!
Editing my wombat images using nothing but Radiant Photo
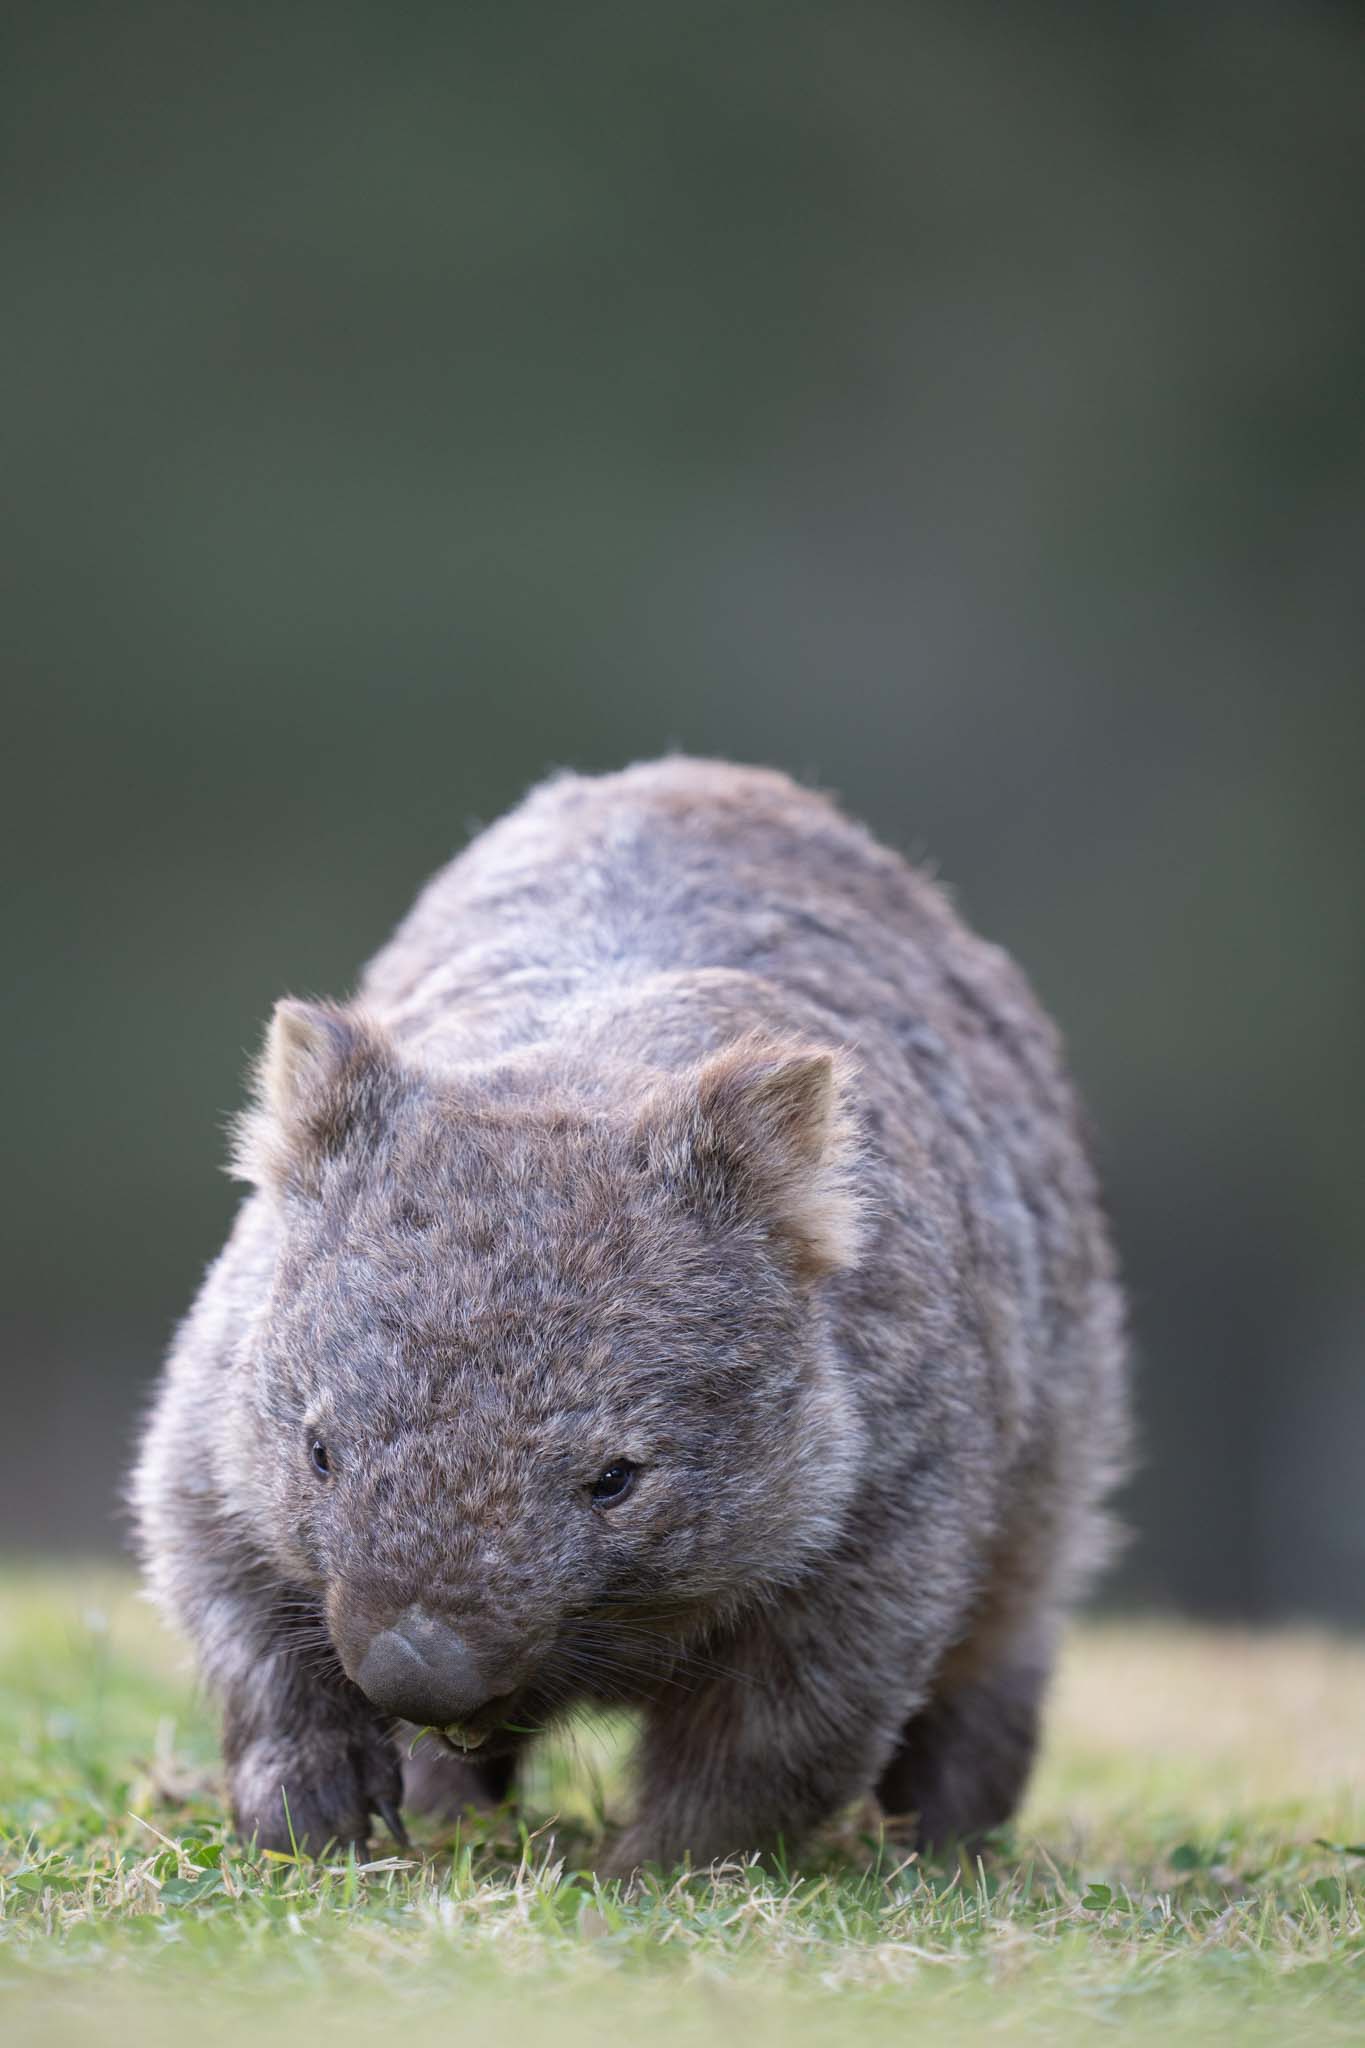
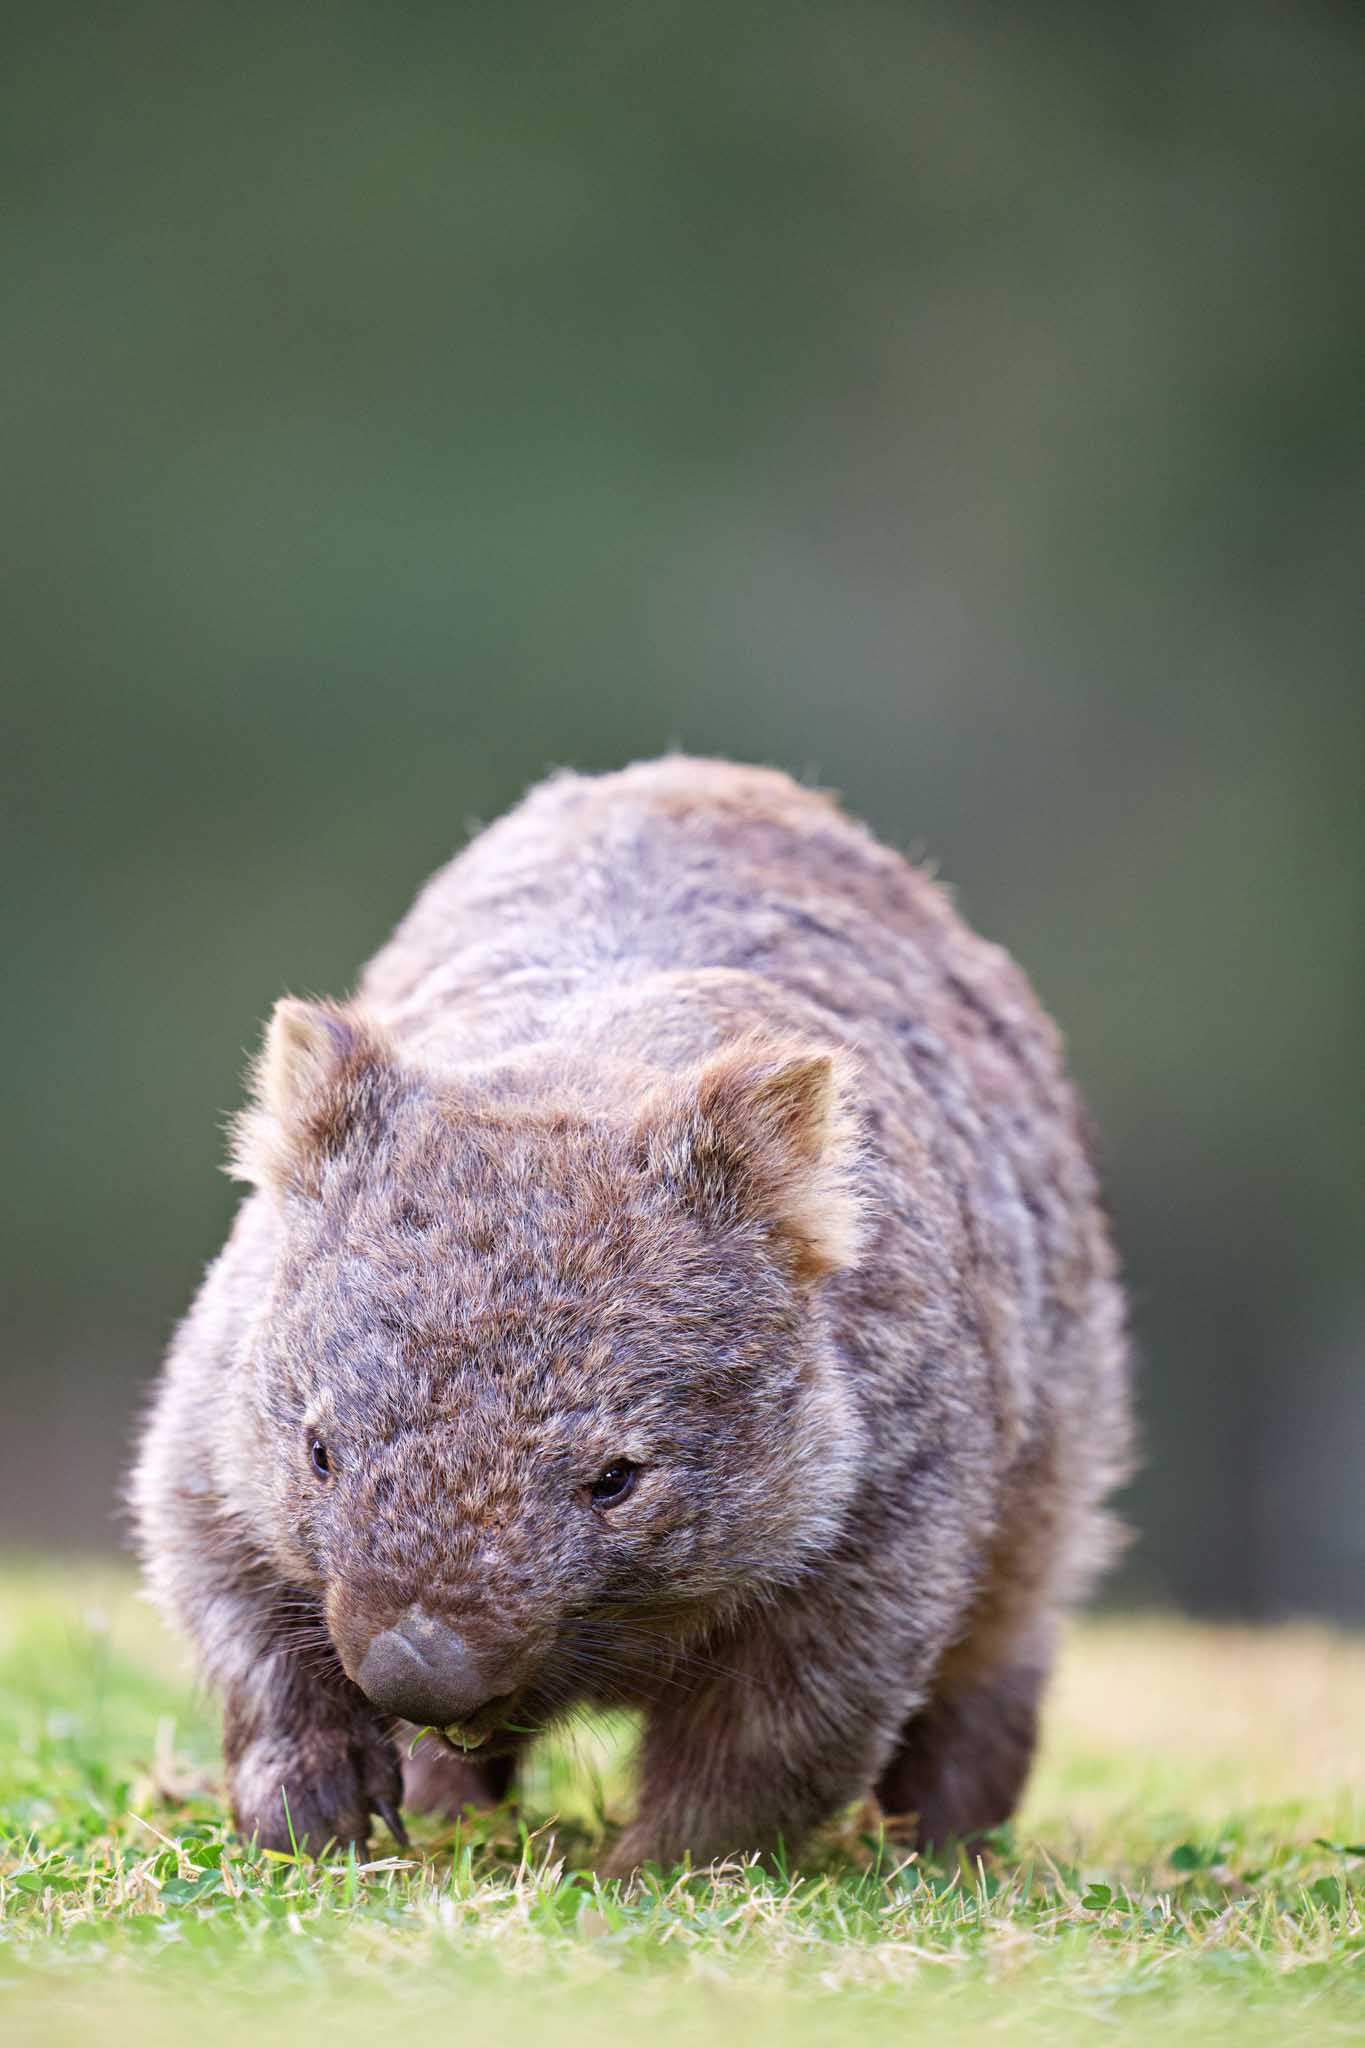
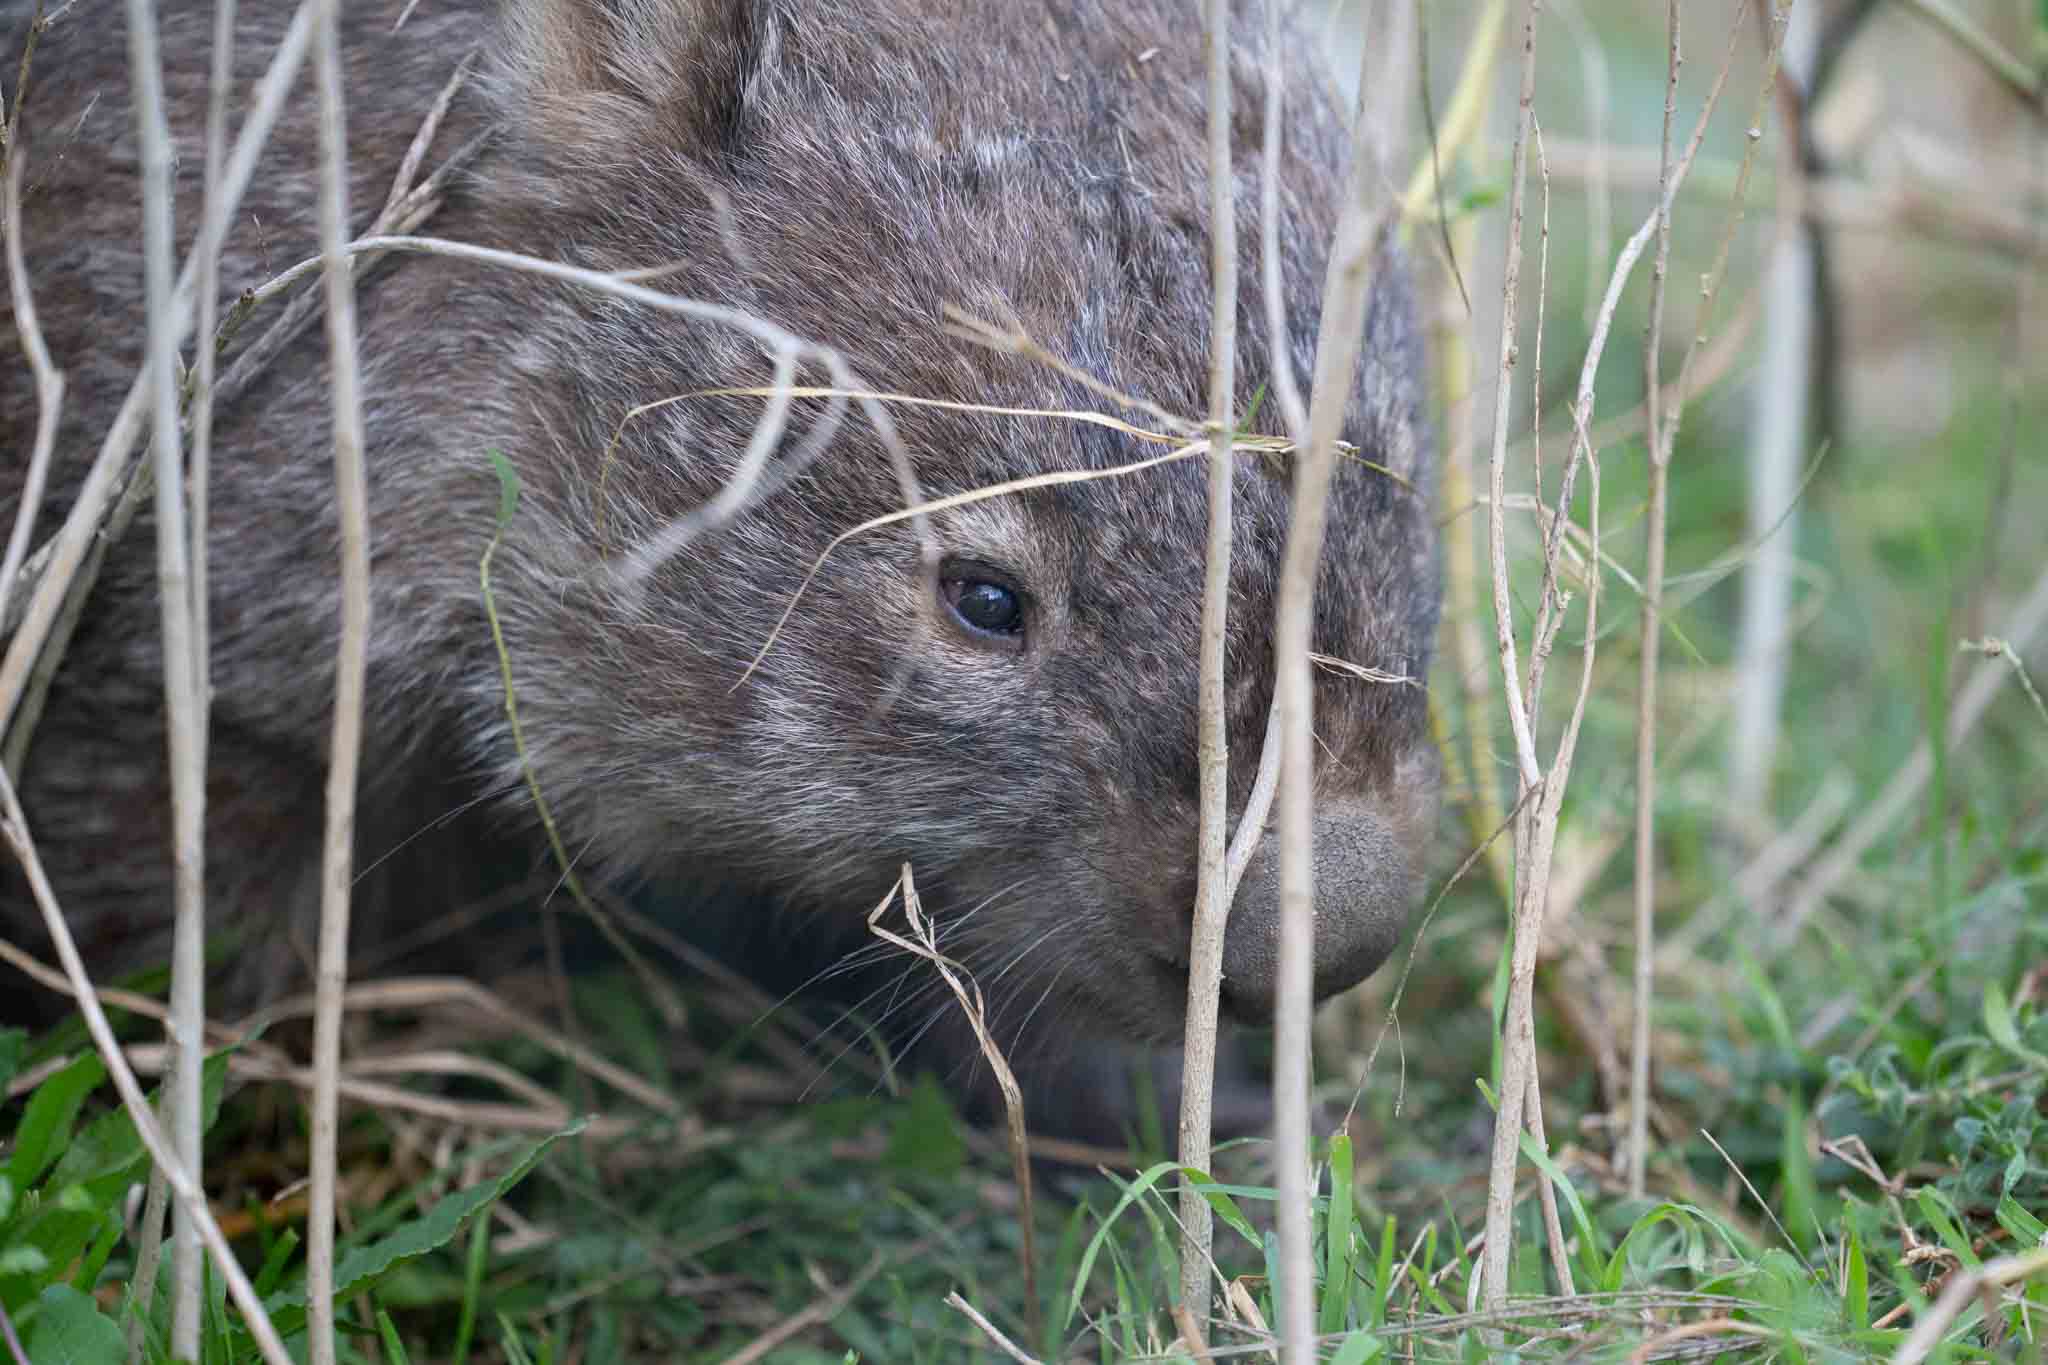
Last weekend I went to Kangaroo Valley, Australia, to see some wombats. And boy did I see some wombats. I made a fun post about the wombats with plenty of pictures here. I really loved how the pictures turned out!
But here’s what I didn’t tell you.
I did not edit a single photo, beyond some cropping.
I opened the photo in Radiant, let it do its thing, and saved it. Job done.
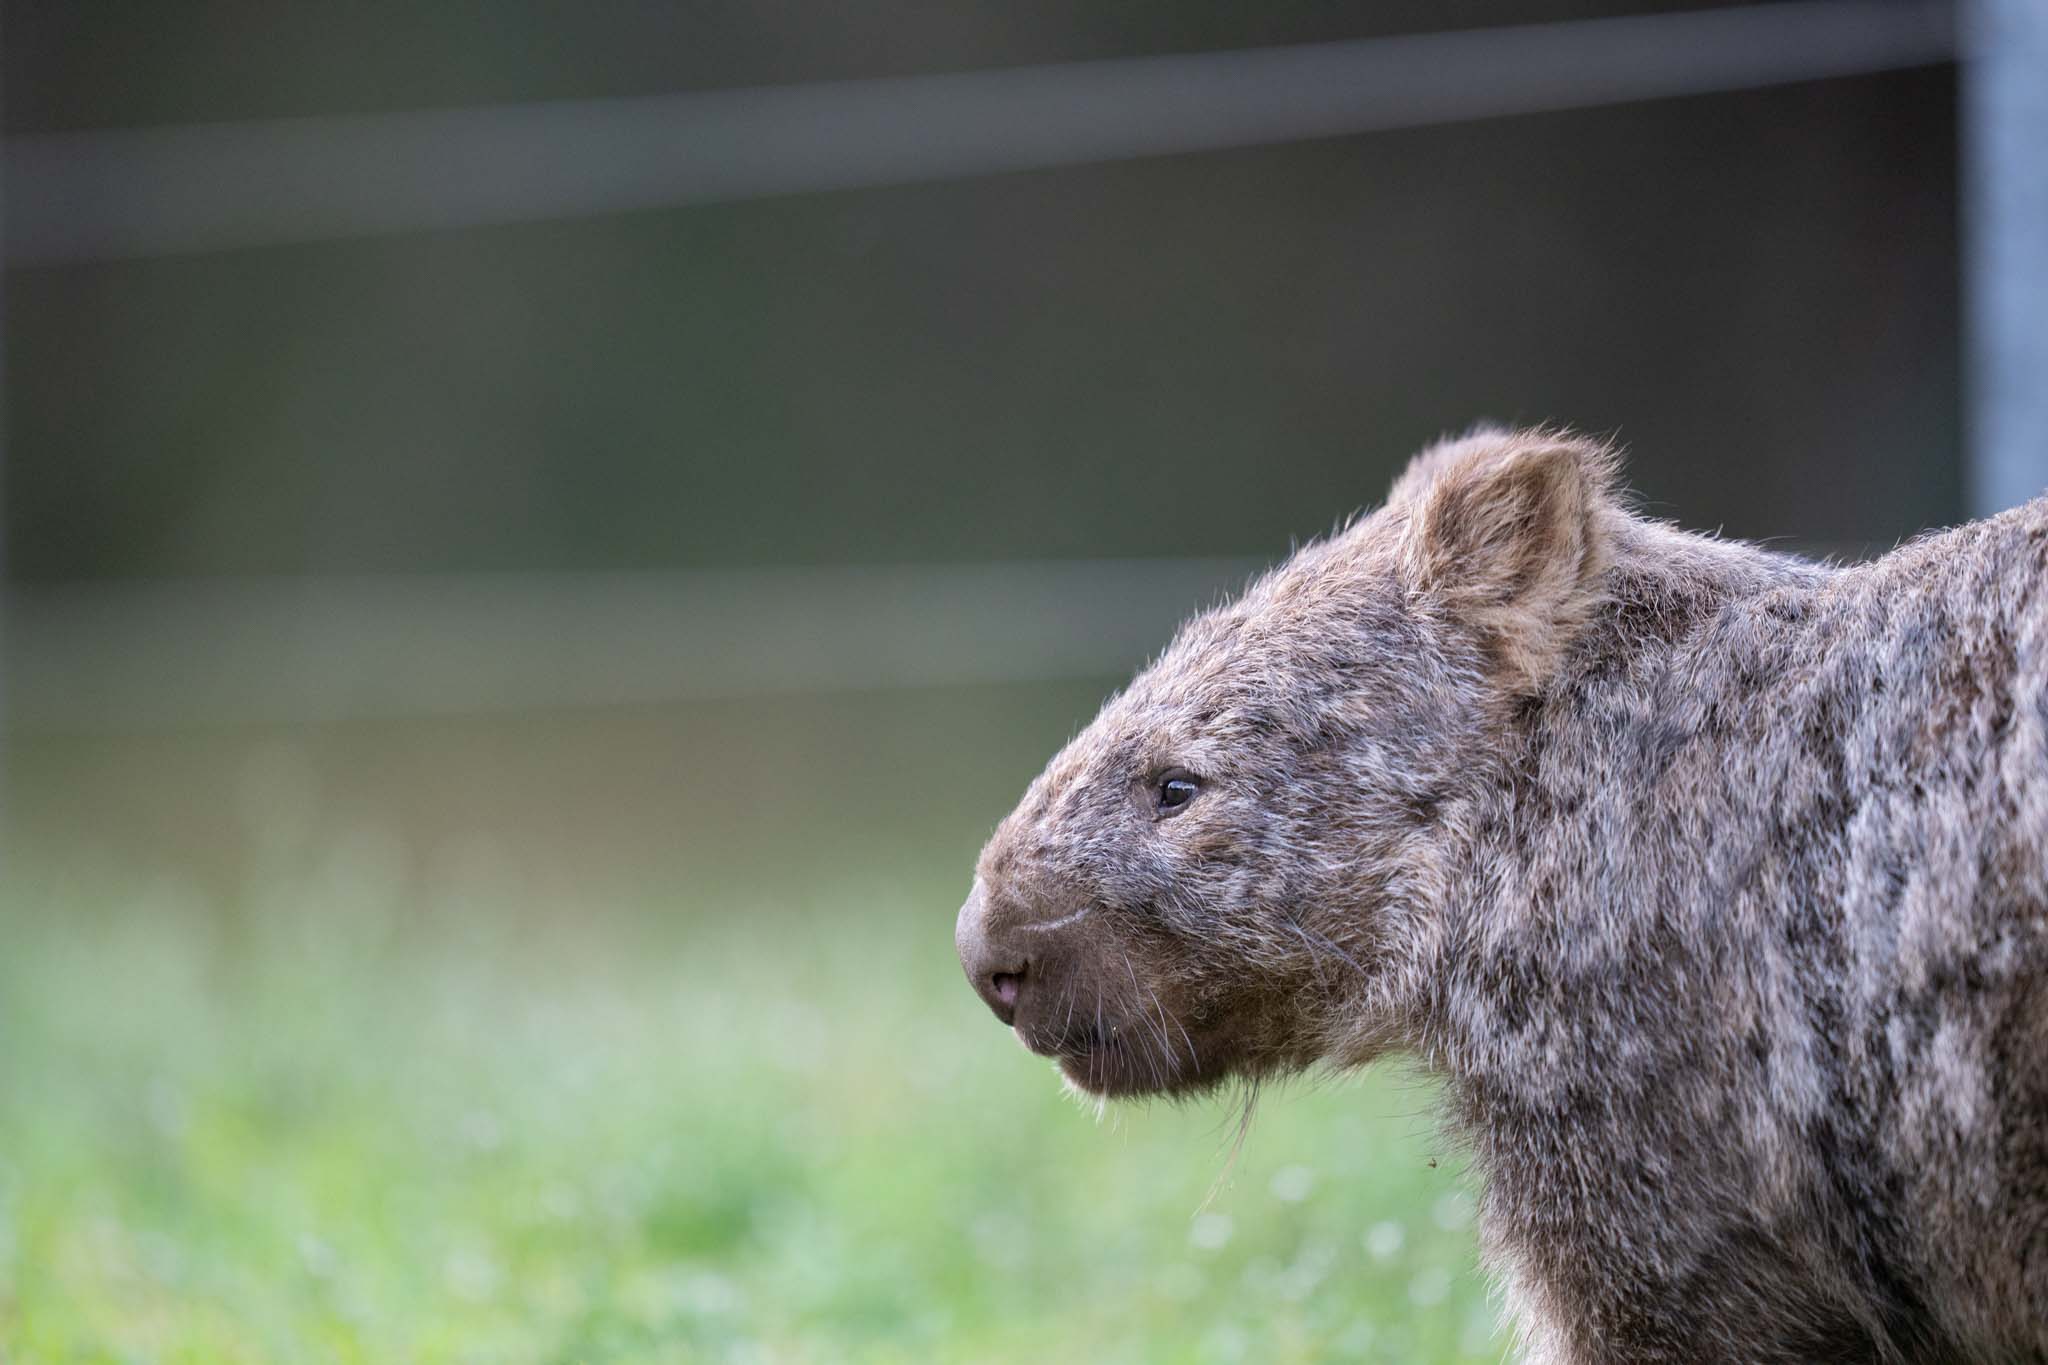
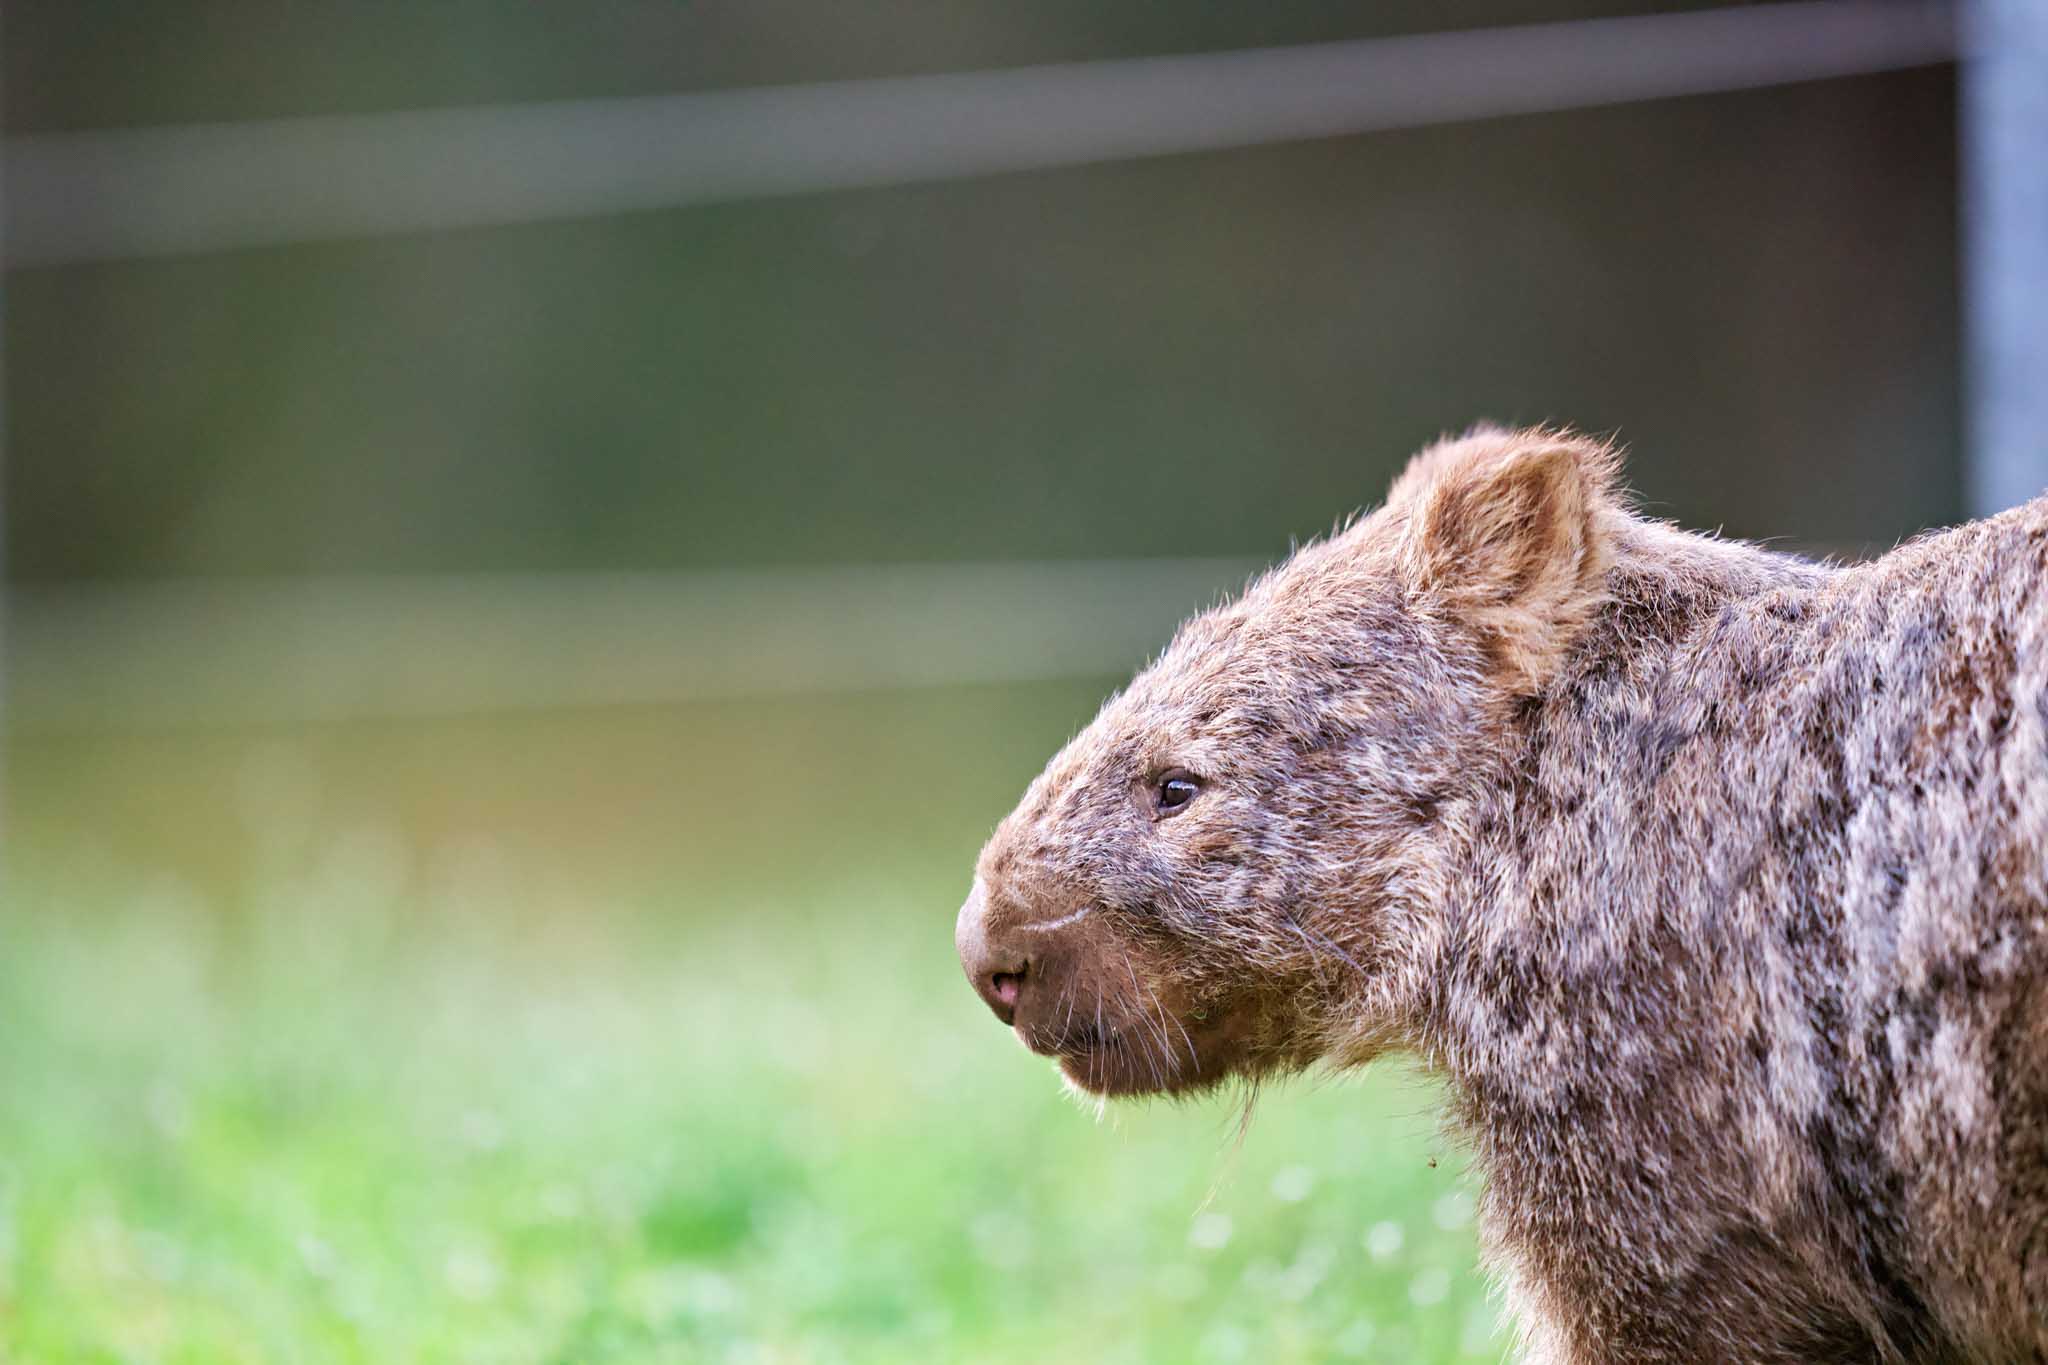
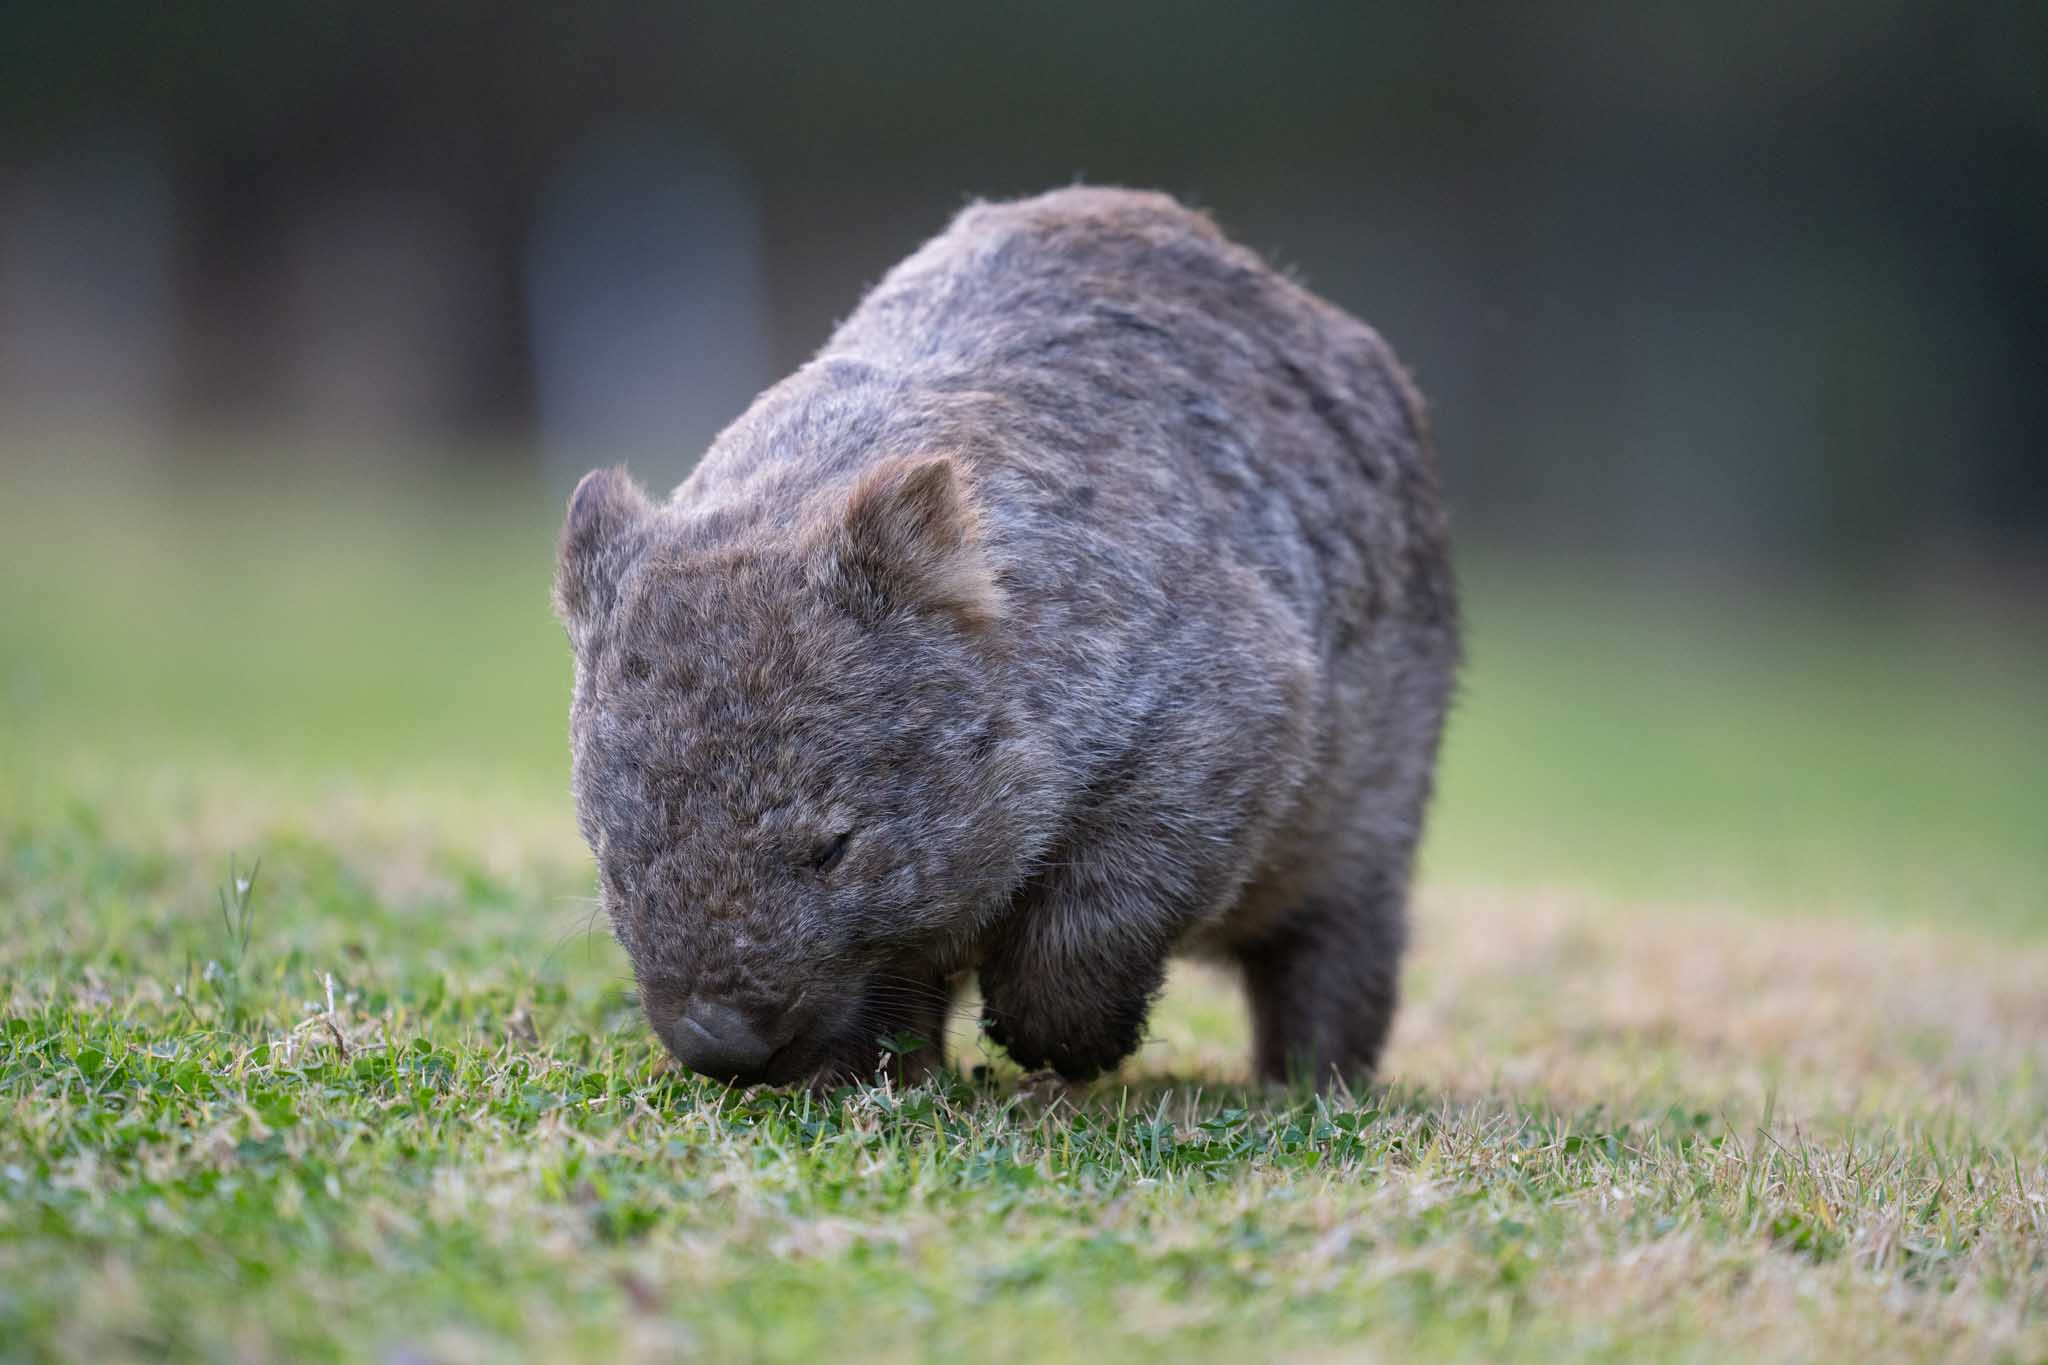
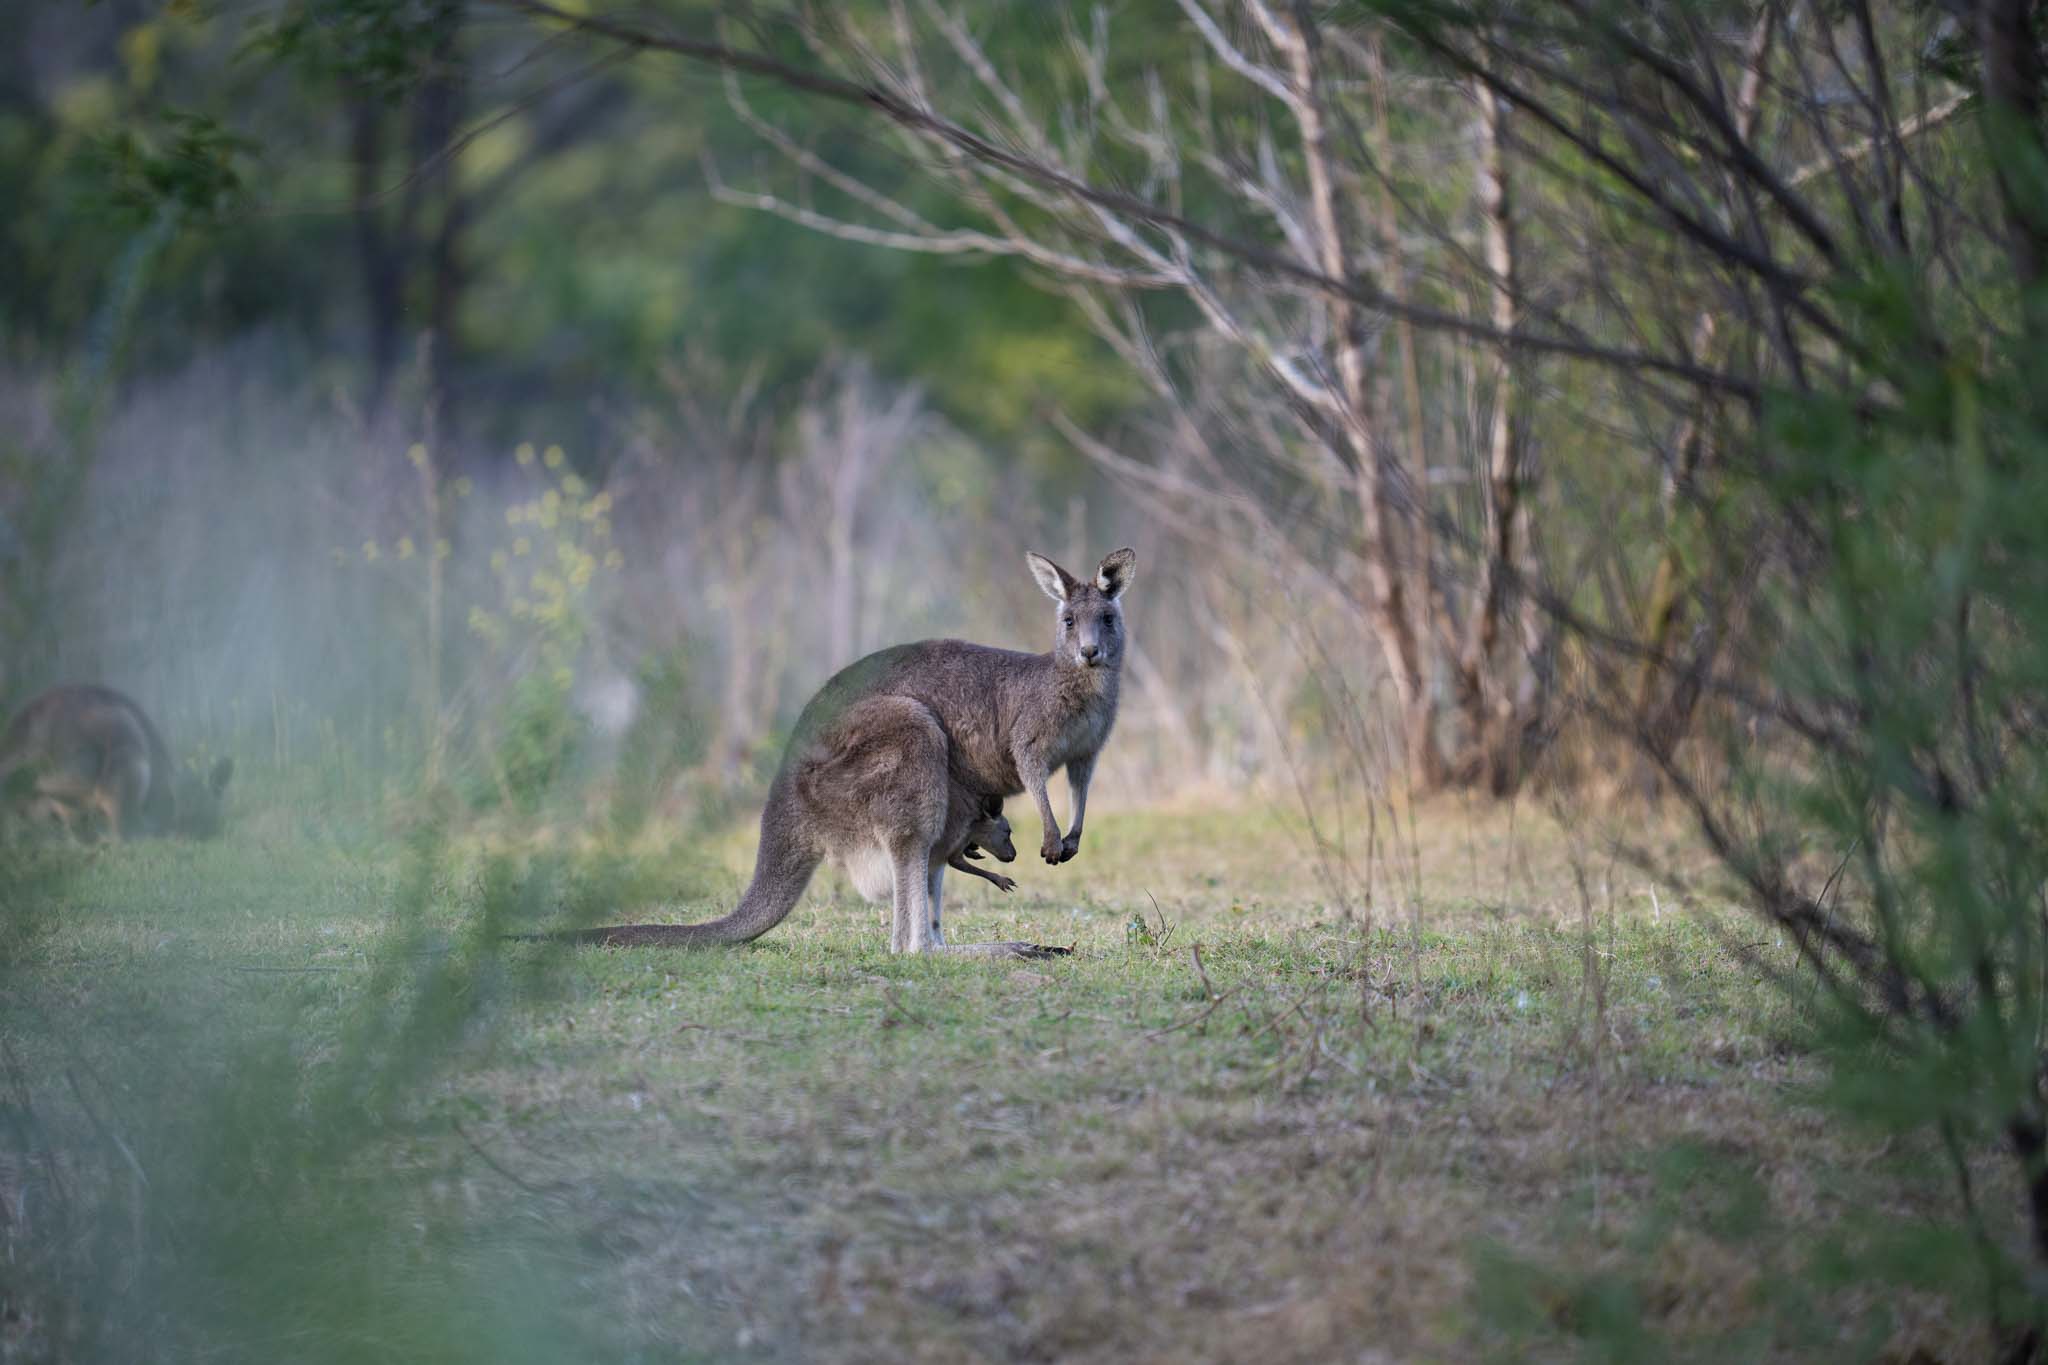
You’ve seen the afters already, but let me show you where the images started, taken with a Sony a7r V and a 400mm f2.8 lens. Each image will be shown before and after Radiant. It’s not that it did anything unnatural to my images, it truly made them appear how my eyes saw them in the first place!
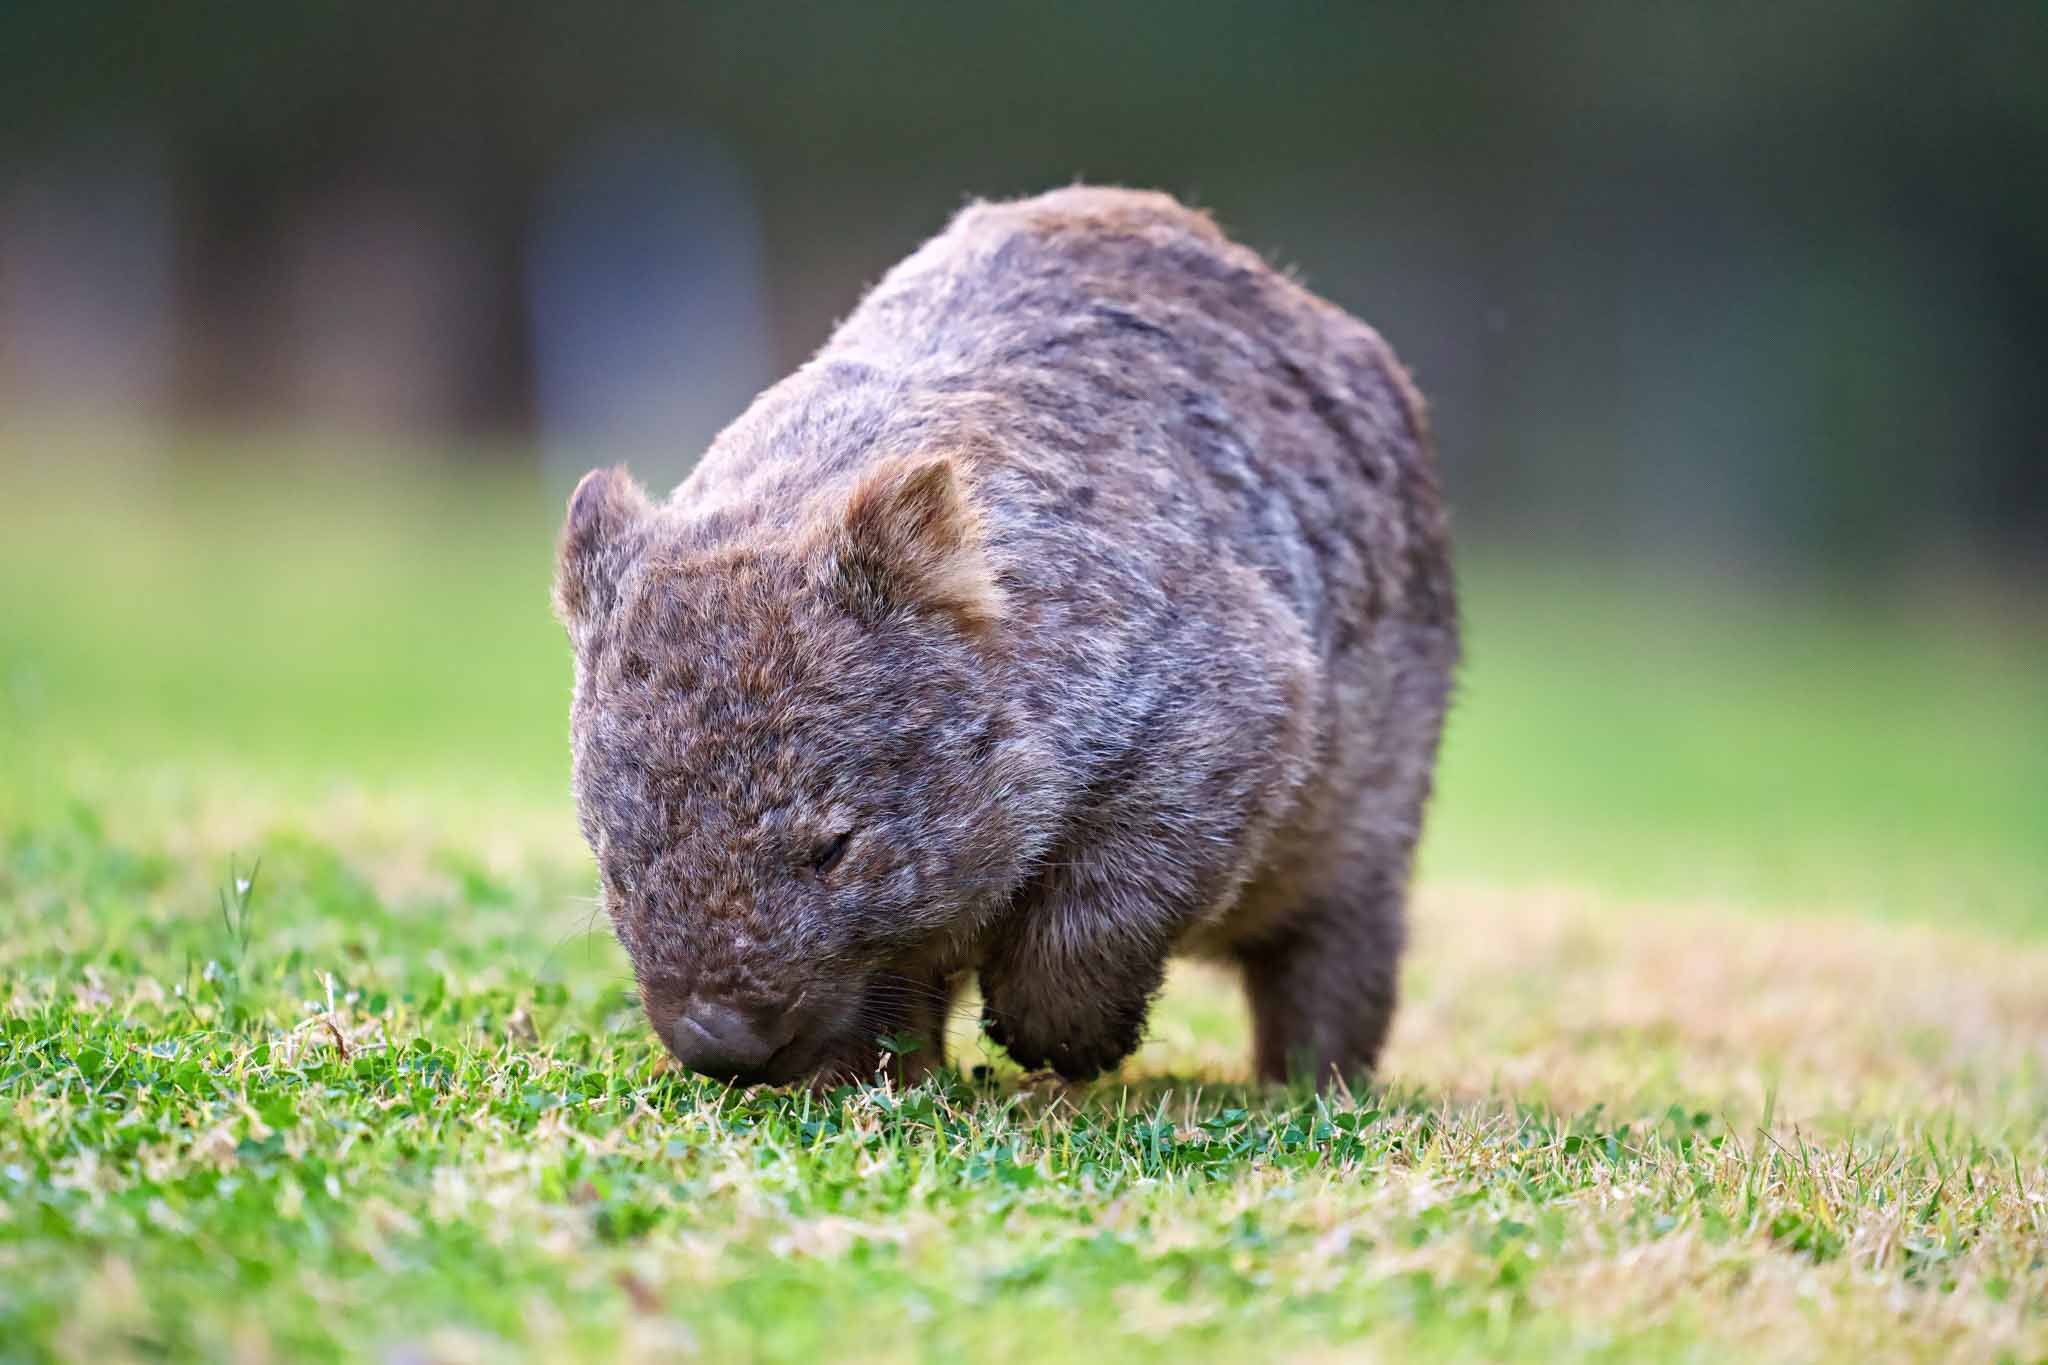
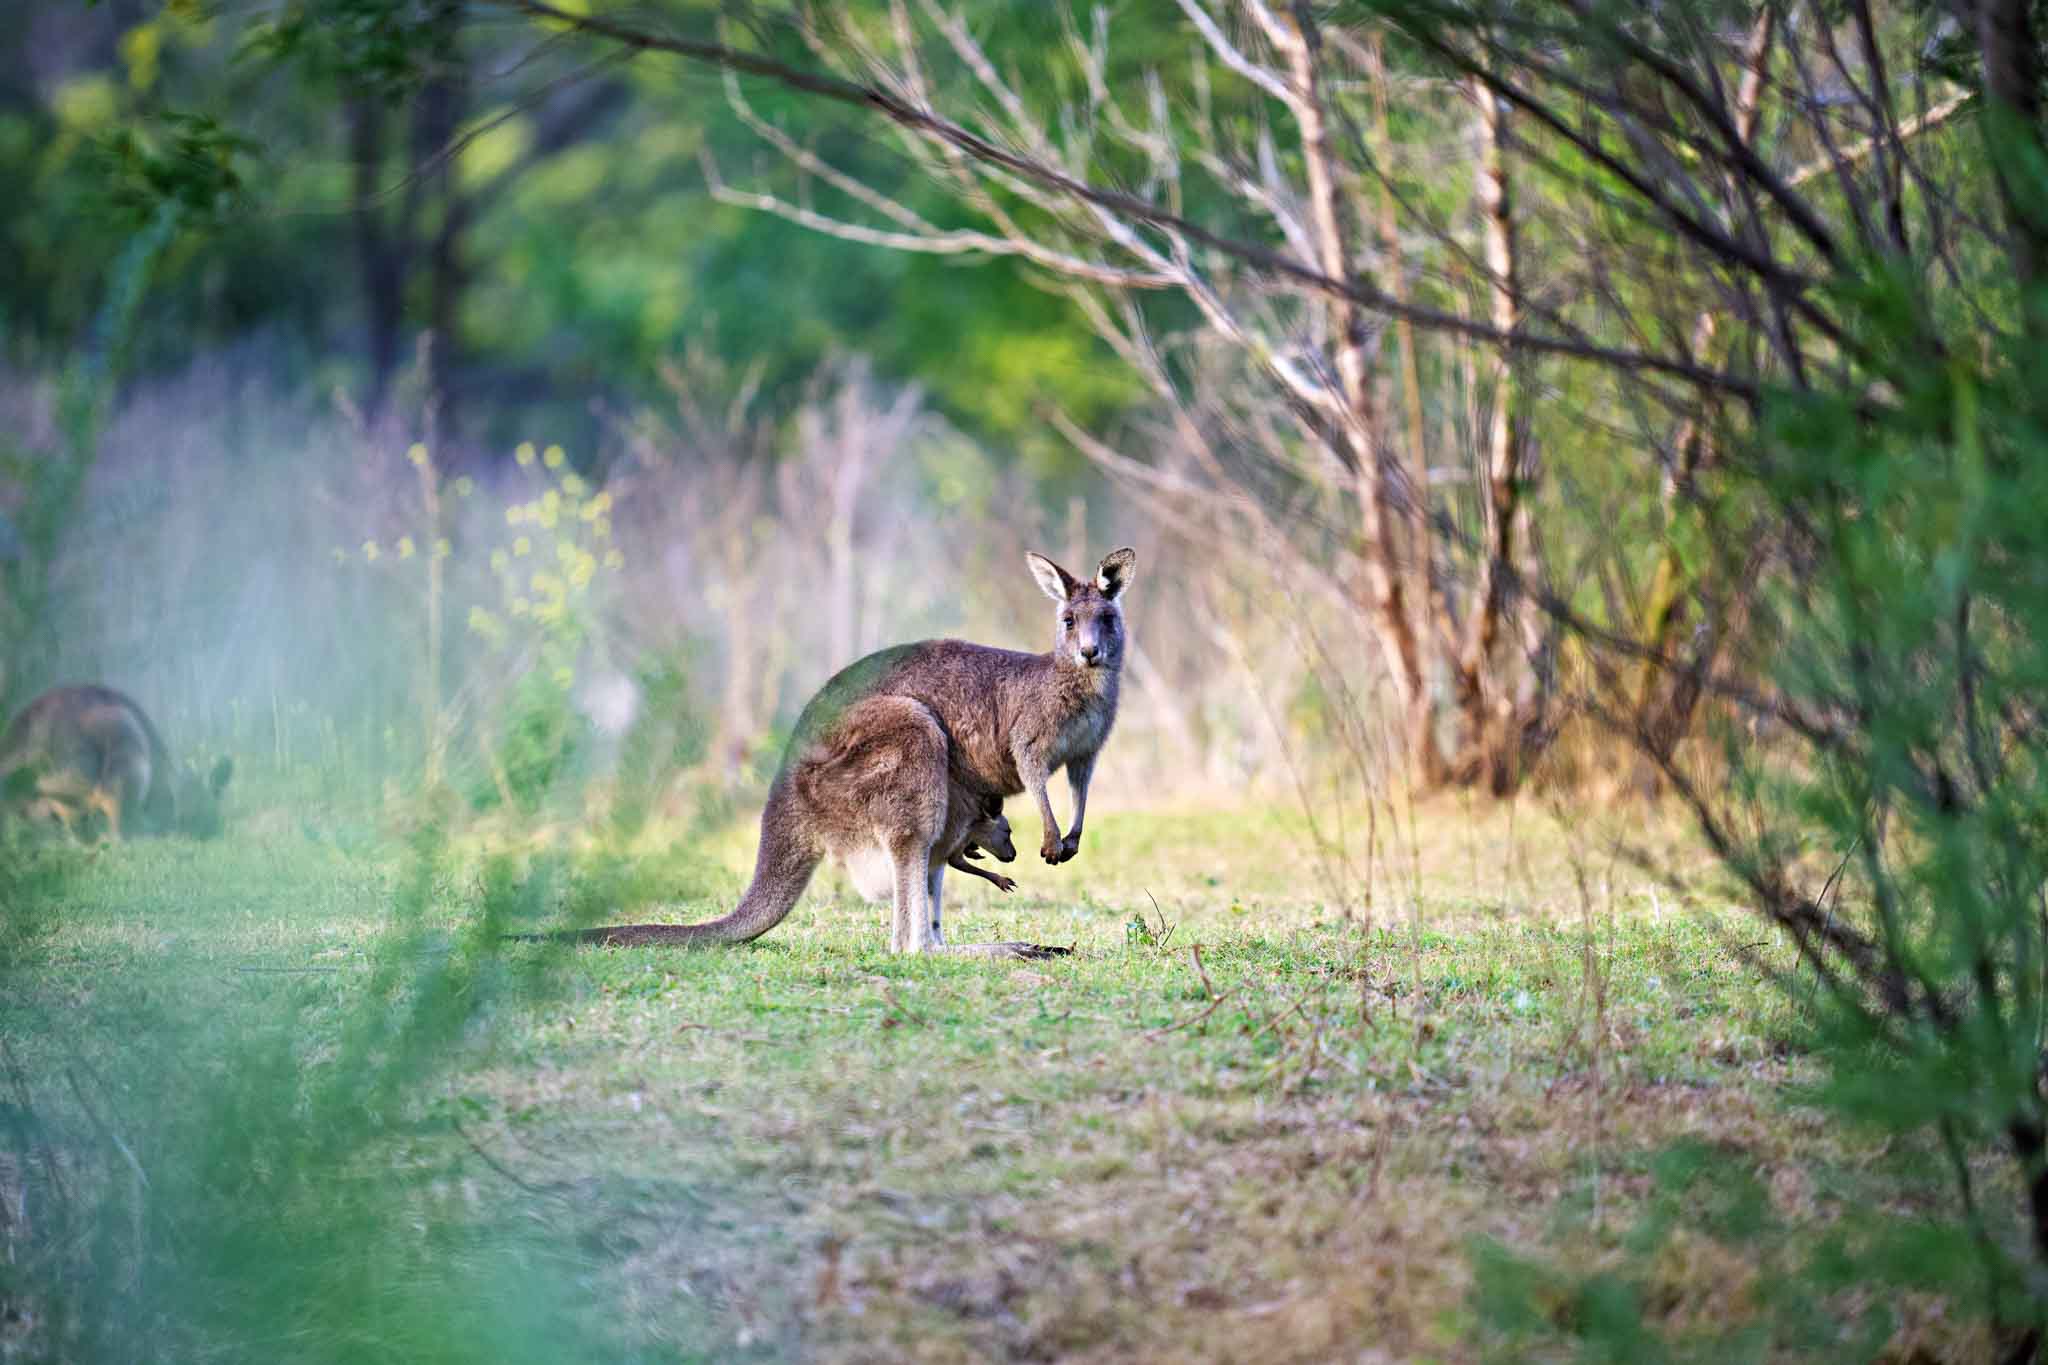

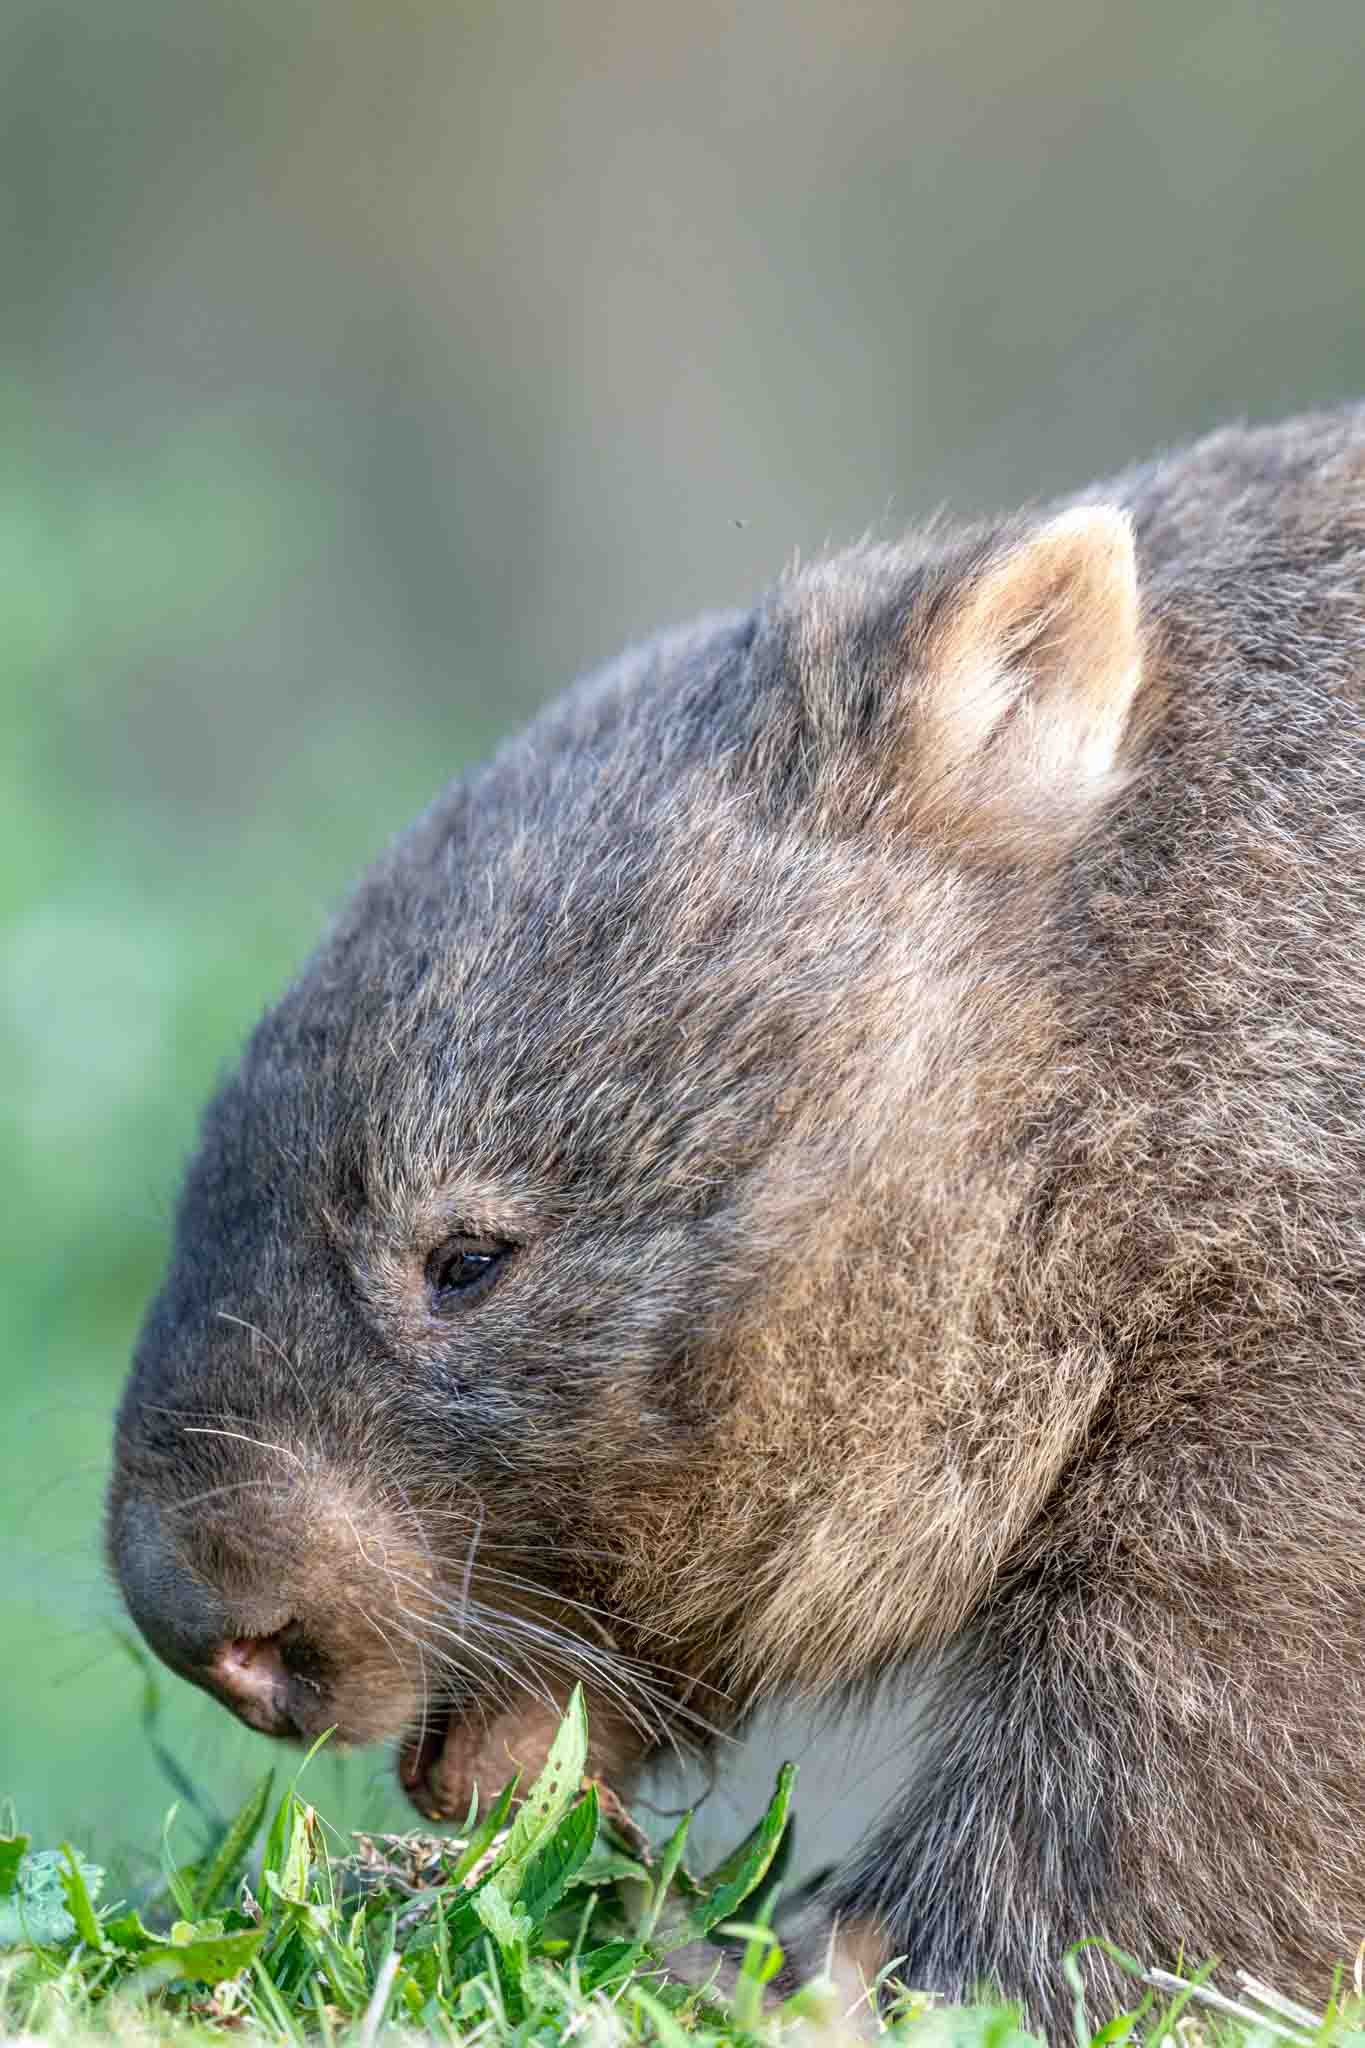
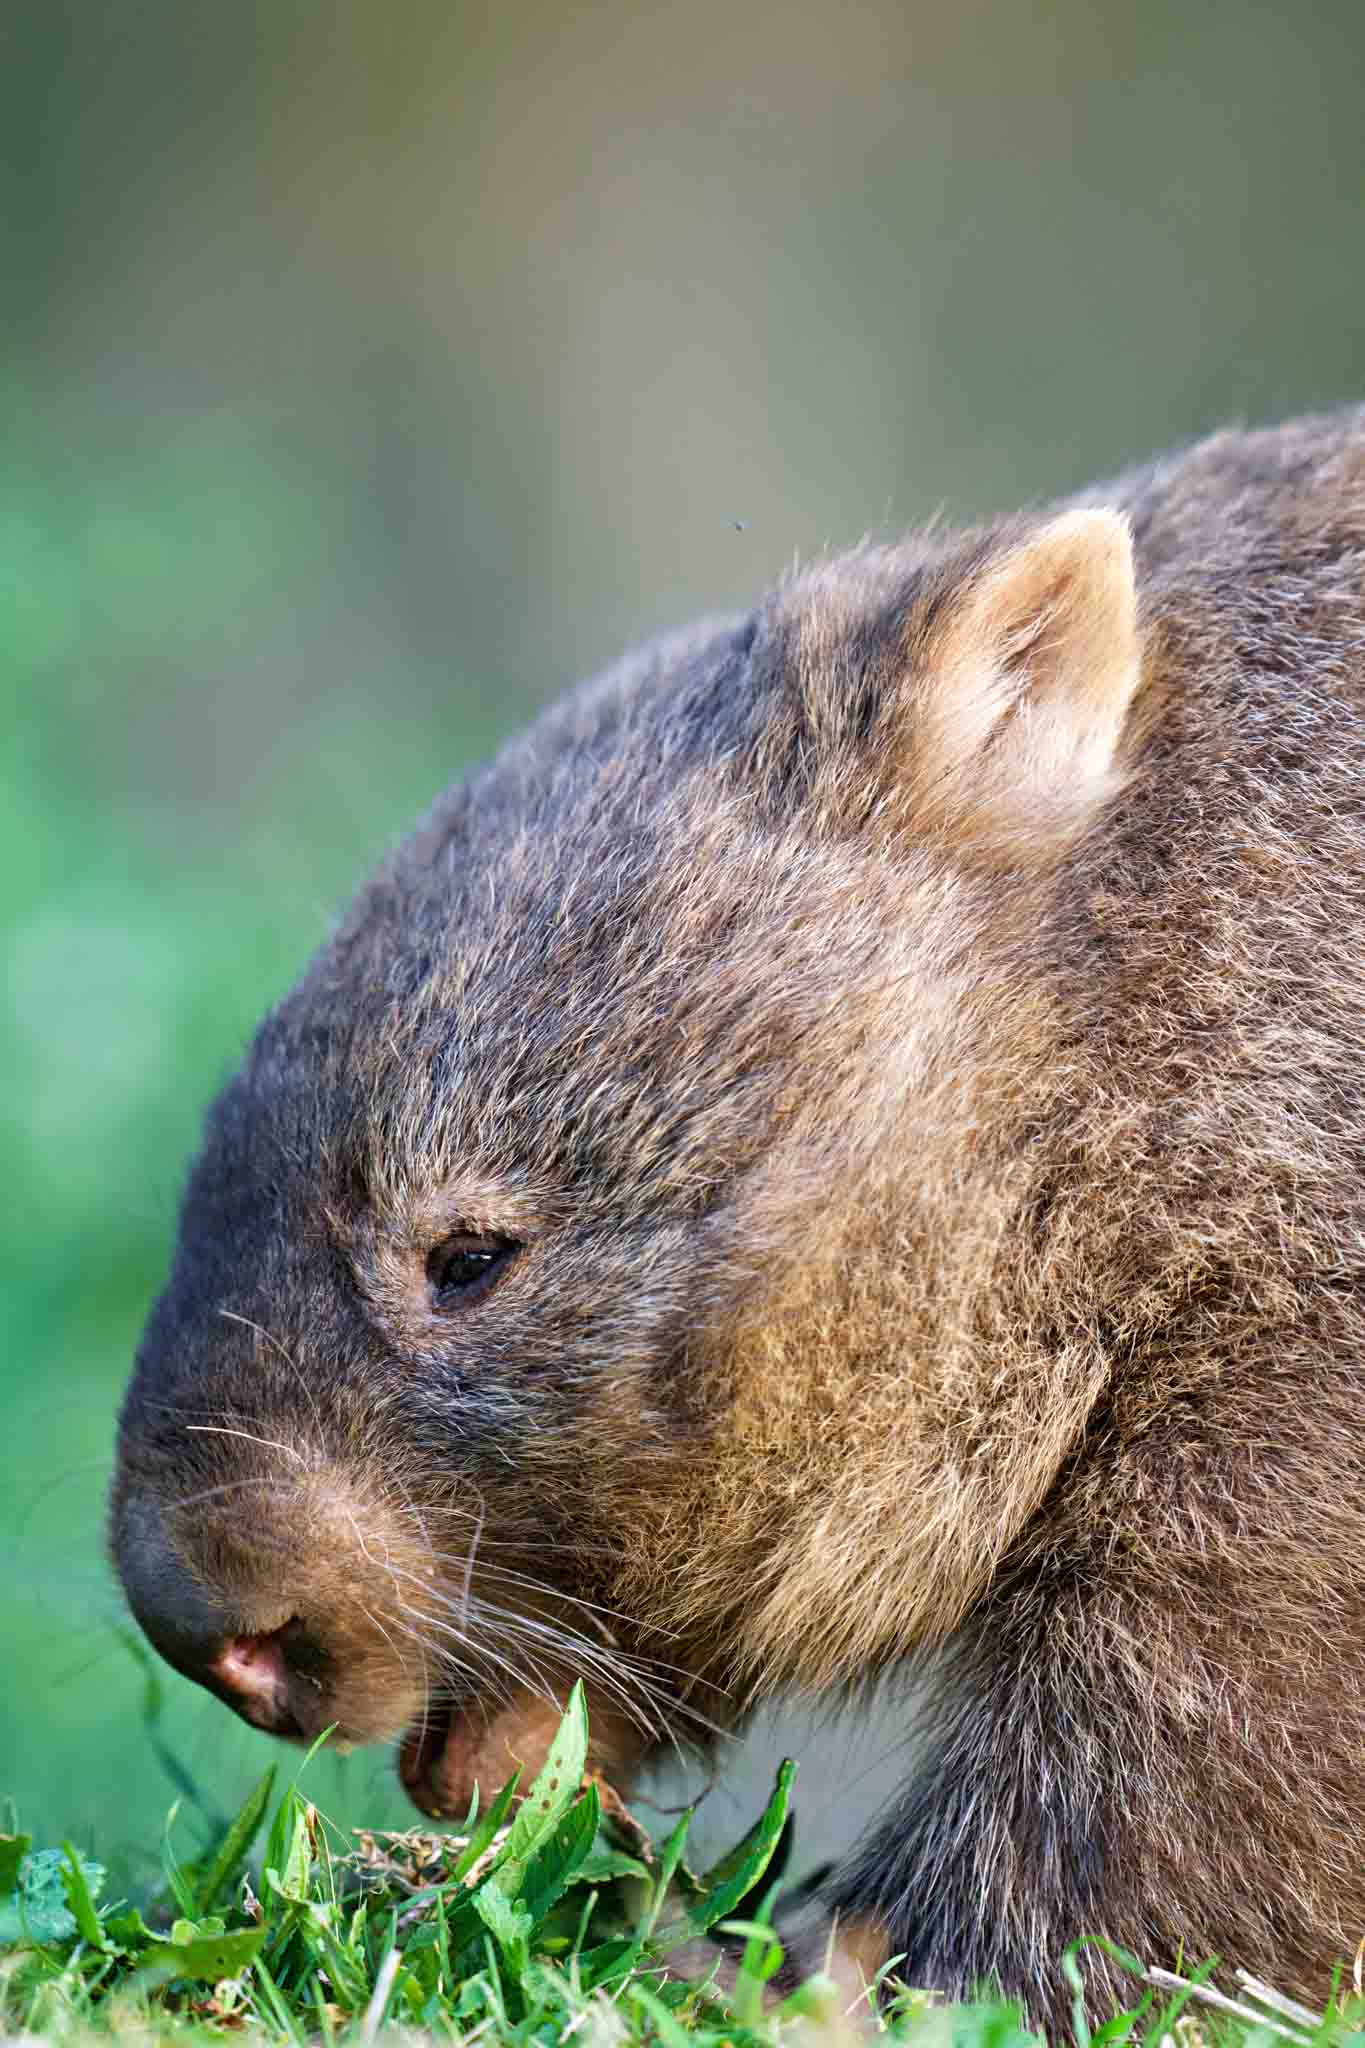
I was blown away. Editing these photos would normally take hours. Instead, they were done almost instantly and looked roughly the same as they would’ve if I had painstakingly gone through my full editing workflow.
I can’t recommend it strongly enough. If you’re a photographer and would like to try it out yourself, you can download the software for a free 30-day trial at www.radiantimaginglabs.com, where there are additional presets you can purchase as well. I think the software is well worth the $150 investment.
I can’t wait to try out more features of Radiant, it’s about as intuitive of a piece of software as I’ve ever used, and has plugins for Lightroom and Photoshop so it can be a more complete centerpiece of my editing workflow!
Not sure this wouldn’t happen with the Auto button in the Lightroom Develop module or a good generic preset. Not sure that’s another $150 investment for me.